
HOT PRODUCT
Product Details
Source:
Date:
02-06 2025
Diy Solar Made Simple: Building Your Foldable Panel Kit
Title: DIY Solar Made Simple: Building Your Foldable Panel Kit
Introduction
With the increasing popularity and affordability of solar energy, many homeowners are considering harnessing the power of the sun to generate clean, renewable electricity. Building your own foldable solar panel kit is not only an eco-friendly choice but also a cost-effective way to make the most of solar energy. In this article, we will guide you through the process of building your own DIY foldable solar panel kit, helping you harness the power of the sun from the comfort of your own home.
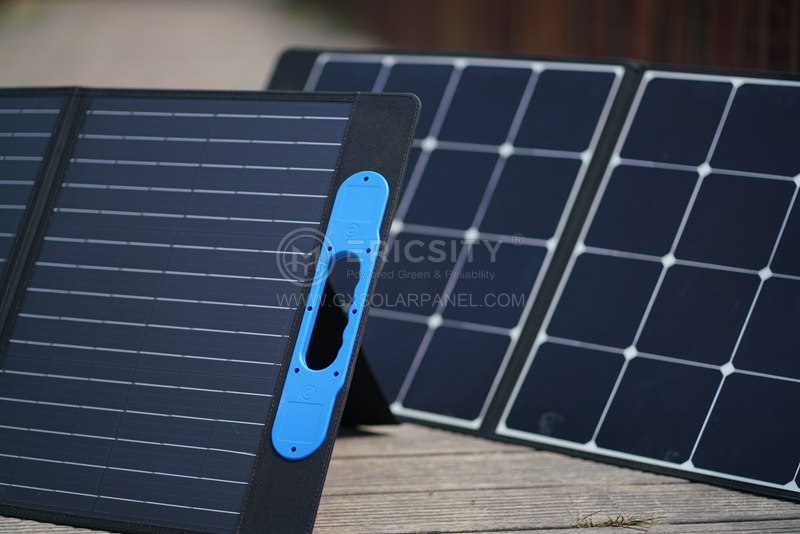
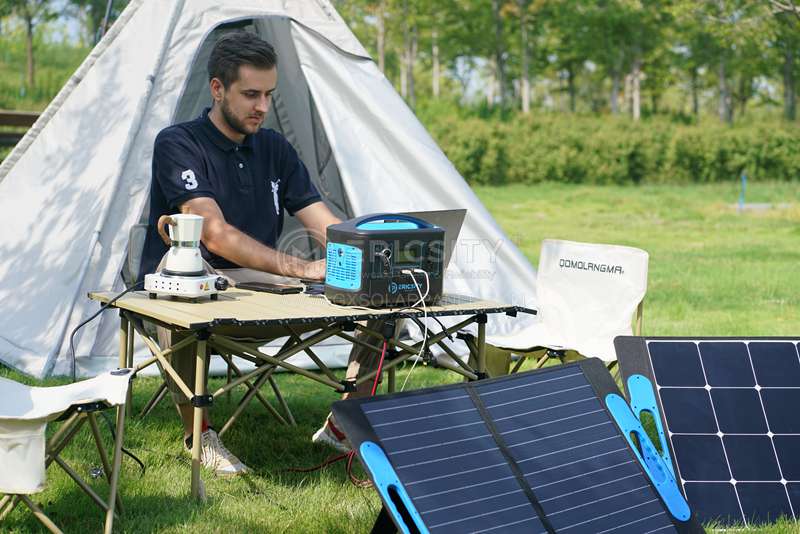
Why Choose a Foldable Solar Panel Kit?
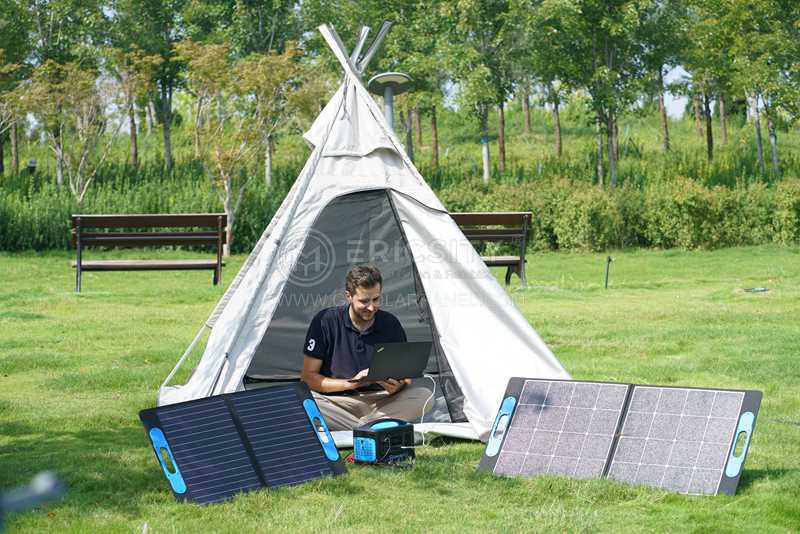
Foldable solar panel kits have gained significant popularity due to their portability and convenience. They allow you to easily transport and set up your solar panels wherever there is sunlight, making them ideal for camping trips, outdoor gatherings, or even emergency situations. Additionally, foldable panels are easy to store, taking up minimal space when not in use. By building your own foldable solar panel kit, you can fully customize it to fit your specific energy needs, ultimately saving you money on your energy bills.
Materials Needed
To build your own foldable solar panel kit, you will need the following materials:
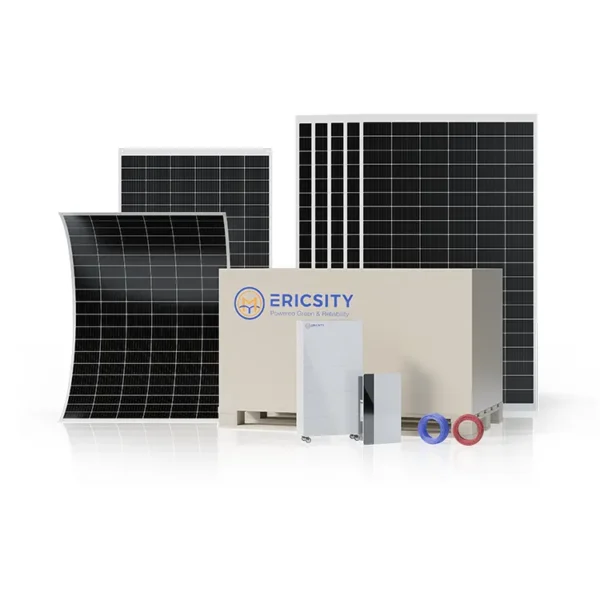
1. Solar Cells: Purchase monocrystalline or polycrystalline solar cells with a combined output of your desired wattage.
2. Soldering Iron and Flux: Used to connect the solar cells together.
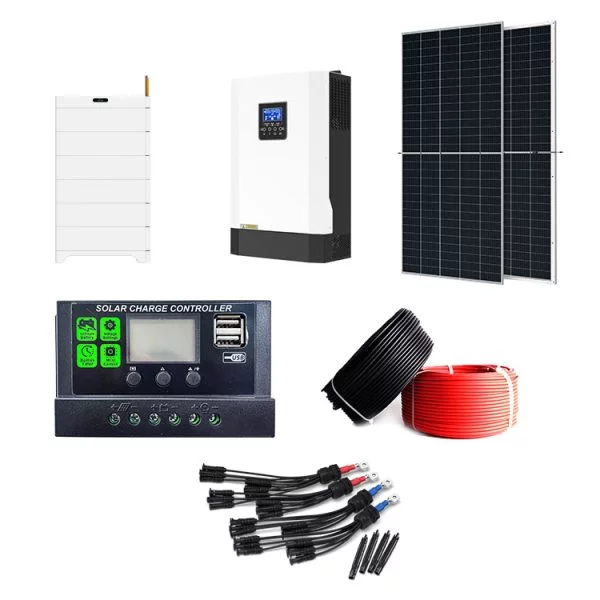
3. Tabbing Wire and Bus Wire: These copper wires help in connecting the solar cells.
4. Blocking Diodes: Essential for preventing reverse current flow and protecting your solar panel.
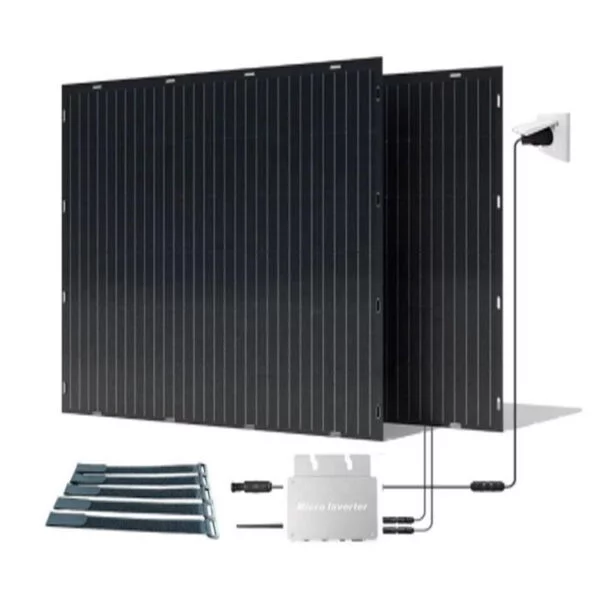
5. Junction Box: A waterproof enclosure where all the connections will be made and protected.
6. Frame Material: Aluminum or PVC pipes to create a sturdy frame for your panels.
7. Hinges, Latches, and Handles: These hardware components will aid in folding and securing the solar panels.
Building Your Foldable Solar Panel Kit
1. Design and Layout: Determine the ideal size and number of solar cells required to achieve your desired wattage. Lay out the solar cells in a series-parallel configuration.
2. Wiring the Solar Cells: Use tabbing wire and bus wire to connect the solar cells in series. Ensure the positive and negative terminals are connected correctly.
3. Adding Blocking Diodes: Connect the blocking diodes in series with the positive side of each solar cell string to prevent reverse current flow.
4. Mounting the Solar Cells: Attach the solar cells to the frame material using a strong adhesive or suitable brackets. Ensure that the cells are evenly spaced and aligned for maximum efficiency.
5. Wiring and Mounting the Junction Box: Connect the positive and negative terminals of your solar panel to the appropriate terminals in the junction box. Mount the junction box securely near the edge of the solar panel.
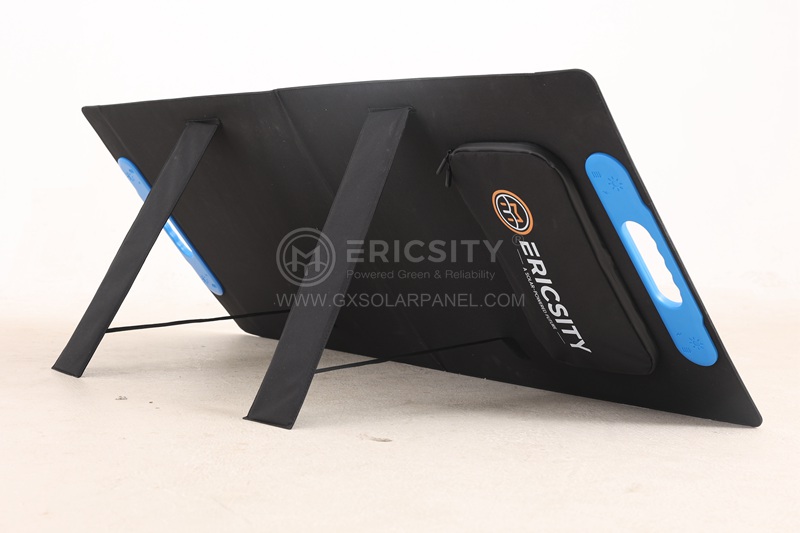
6. Building the Foldable Frame: Assemble the frame using aluminum or PVC pipes, incorporating hinges, latches, and handles for easy folding and transportation.
7. Testing and Connecting: Test your newly constructed foldable solar panel kit under direct sunlight to ensure everything is functioning correctly. Connect the output terminals to a charge controller or battery for energy storage.
Conclusion
By following these steps, you can successfully build your own DIY foldable solar panel kit. Embracing solar energy not only helps reduce your carbon footprint but also provides a sustainable and cost-effective source of electricity. With a portable foldable kit, you can conveniently harness the power of the sun anywhere you go, ensuring clean, renewable energy is readily available. Start your DIY green energy journey today and power your life with the sun’s rays.