HOT PRODUCT
Product Details
Efficiency Meets Mobility: Tips For A Successful Rv Flexible Solar Panel Installation
Efficiency Meets Mobility: Tips For A Successful RV Flexible Solar Panel Installation
With the increasing popularity of recreational vehicles (RVs) as a means of travel and accommodation, many enthusiasts are turning to solar energy to power their adventures. Installing flexible solar panels on RVs offers a convenient and sustainable way to harness the sun’s energy for all your power needs while on the road. In this article, we will explore some essential tips for a successful RV flexible solar panel installation.
1. Assess Your Power Requirements: Before getting started, it is crucial to determine your power needs. Consider the appliances and devices you plan to run on solar power, such as lights, refrigerator, air conditioner, water pump, or electronics. Calculate the total energy consumption in watts per day or in amp-hours using their respective voltage ratings.

2. Choose High-Quality Flexible Solar Panels: Look for reputable brands that offer high-quality flexible solar panels specifically designed for RVs. These panels are typically lightweight, durable, and can bend to fit the curved surface of your RV’s roof. Opt for panels that have a high energy conversion efficiency to maximize the power output.
3. Calculate the Required Panel Size: Based on the power requirements determined in step one, calculate the required panel size. Consider the available space on your RV’s roof and select a panel size that fits without obstructing other fixtures like vents or antennas.

4. Install Mounting Brackets: Begin the installation process by attaching mounting brackets to your RV’s roof. Ensure that the brackets are securely fastened, as they will hold the solar panels in place. It is advisable to use stainless steel or aluminum brackets for their durability and resistance to weather conditions.
5. Clean and Prepare the Roof Surface: Thoroughly clean the area where the solar panels will be installed. Remove any dirt, grime, or remnants of past adhesives. After cleaning, use isopropyl alcohol to wipe the surface, ensuring a clean and smooth adhesion area.
6. Apply Adhesive: Use a high-strength adhesive specifically designed for RV roofs to create a strong bond between the flexible solar panels and the roof surface. Follow the manufacturer’s instructions regarding the application and drying time. Be cautious not to use excessive adhesive, as it may lead to uneven panel placement.
7. Secure the Panels: Carefully place the flexible solar panels on the prepared roof surface, pressing them down firmly to ensure adhesion. Use additional adhesive or double-sided tape along the edges for extra security. Avoid stepping on the panels during installation and allow sufficient drying time as recommended by the adhesive manufacturer.
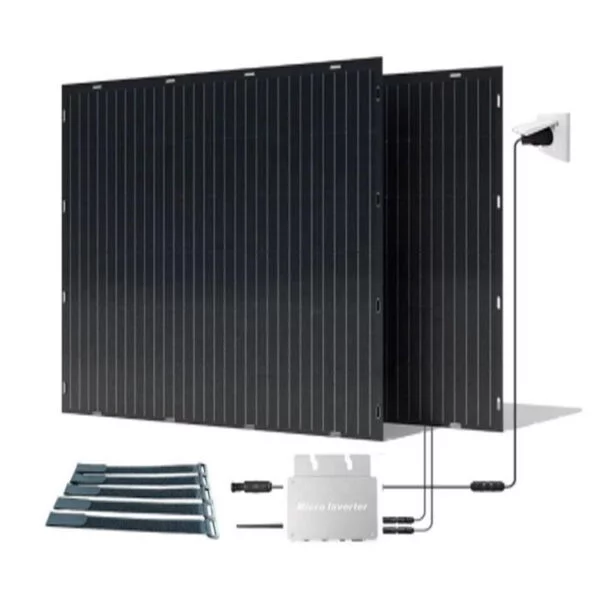
8. Connect the Wiring: Once the panels are securely installed, connect the wiring to ensure proper power distribution. Consult an electrician or refer to the manufacturer’s instructions for proper wiring techniques. Use appropriate connectors and cables, ensuring they are rated for outdoor use and can handle the current flowing through them.
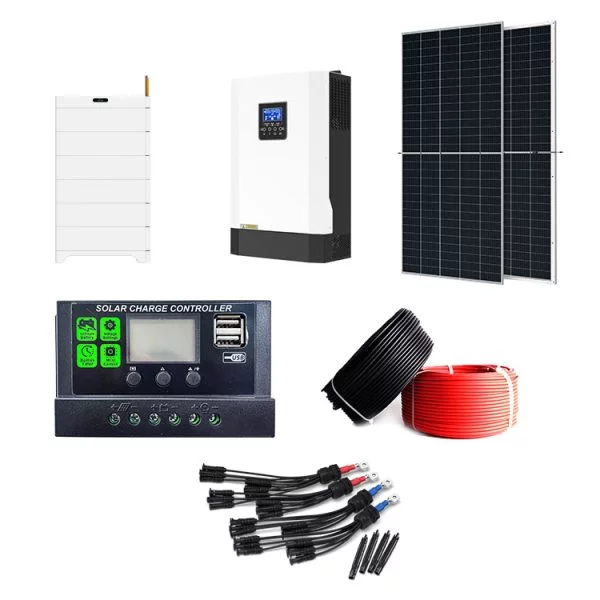
9. Install a Charge Controller: To regulate the flow of electricity from the solar panels to your RV’s battery bank, install a charge controller. This device prevents overcharging and safeguards the battery life. Select a charge controller suitable for the solar panel configuration and battery setup in your RV.
10. Monitor and Maintain: Regularly monitor the performance of your RV’s solar power system to ensure optimal efficiency. Clean the panels periodically to remove any dirt or debris that may obstruct sunlight. Additionally, inspect the wiring connections and charge controller for any signs of wear and tear.
By following these tips, you can enjoy the benefits of an efficient and eco-friendly RV flexible solar panel installation. Harnessing solar power not only saves money on fuel and electricity but also allows for more self-sufficient and sustainable travel experiences. So start planning your next adventure and let the sun power your journey!


