HOT PRODUCT
Product Details
Going Green With 150w Flexible Solar Panel Kits: A Step-by-step Installation Guide
Going Green With 150w Flexible Solar Panel Kits: A Step-by-step Installation Guide
In recent years, there has been an increasing global emphasis on adopting renewable energy sources. Solar power is one of the most popular choices, providing an efficient and sustainable energy solution. If you’re considering going green with solar energy, one option worth exploring is the installation of 150w flexible solar panel kits. In this article, we will provide you with a step-by-step guide on how to install these panels and harness the power of the sun.

Step 1: Assess Your Energy Needs
Before starting the installation process, it’s essential to assess your energy requirements. Determine the total wattage of appliances and devices you wish to power using solar energy. This evaluation will help you decide how many 150w flexible solar panel kits to install.
Step 2: Choose the Right Location
Selecting the ideal location for your panels is critical for optimum energy production. Look for an area with maximum sunlight exposure throughout the day, preferably free from any obstructions like trees or buildings. Installing the panels on your rooftop is a popular choice, but you can also mount them on the ground or a dedicated solar panel stand.

Step 3: Install Mounting Brackets
After identifying the location, it’s time to install the mounting brackets. Ensure they are securely attached to the surface using appropriate screws or bolts. Make sure the brackets are level and follow the recommended spacing guidelines provided by the manufacturer.
Step 4: Connect the Solar Panels
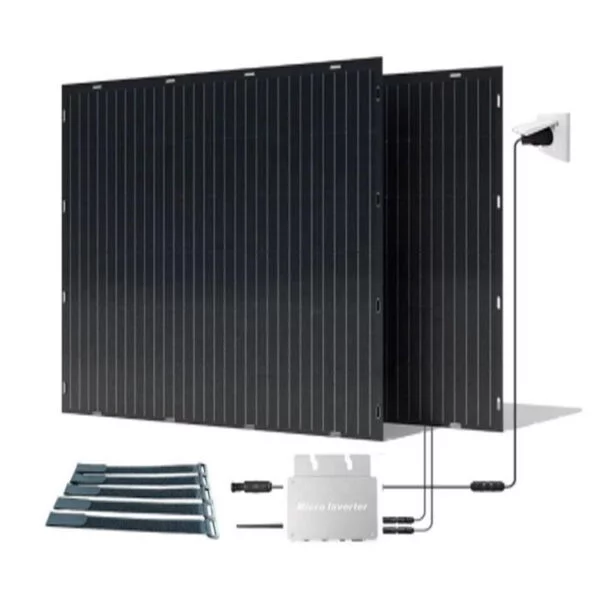
Once the brackets are in place, it’s time to connect the solar panels. Begin by positioning the first panel on the brackets and secure it using the provided screws. Attach the second panel to the first, ensuring a secure connection between the two. Repeat this process until all panels are securely connected and aligned.
Step 5: Wiring and Connection
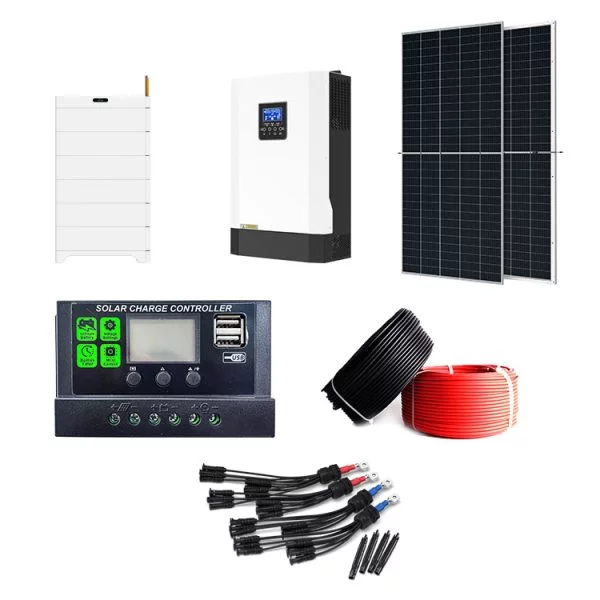
Next, it’s crucial to connect the panels to the charge controller and batteries. Start by running the solar cables from the panels to the charge controller. Follow the recommended gauge size and lengths specified by the manufacturer to avoid energy loss. Connect the positive and negative terminals of the panels to the appropriate input terminals on the charge controller.
Step 6: Connect to Batteries and Inverter
After connecting the panels to the charge controller, it’s time to link the charge controller to your battery bank. This connection allows the excess solar energy to be stored for later use. Connect the positive and negative terminals of the battery bank to the charge controller outputs, ensuring proper polarity.
Finally, connect the battery bank to an inverter. An inverter is essential to convert the DC power stored in the batteries into usable AC power for your appliances. Follow the specific instructions provided with the inverter to ensure a correct and safe connection.
Step 7: Test and Monitor
Once everything is connected, it’s time to test your system. Ensure that all connections are secure and the wiring is properly insulated. Turn on the charge controller and monitor its display to ensure it is receiving energy from the solar panels while charging the batteries.

Regularly monitor your system’s performance and keep an eye on any potential issues such as shading or wiring problems. Cleaning the solar panels periodically will also help maintain their efficiency.
By following these installation steps, you can successfully set up your 150w flexible solar panel kit and start benefiting from environmentally friendly solar energy. Remember, it’s crucial to consult the user manual provided by the manufacturer and, if necessary, seek professional assistance during the installation process. Embracing solar power not only reduces your carbon footprint but also helps you save on energy costs in the long run.


