
HOT PRODUCT
Product Details
Source:
Date:
06-28 2025
Installing 120w Flexible Solar Panels: A Step-by-step Guide
Title: Installing 120W Flexible Solar Panels: A Step-by-Step Guide
Introduction (100 words):
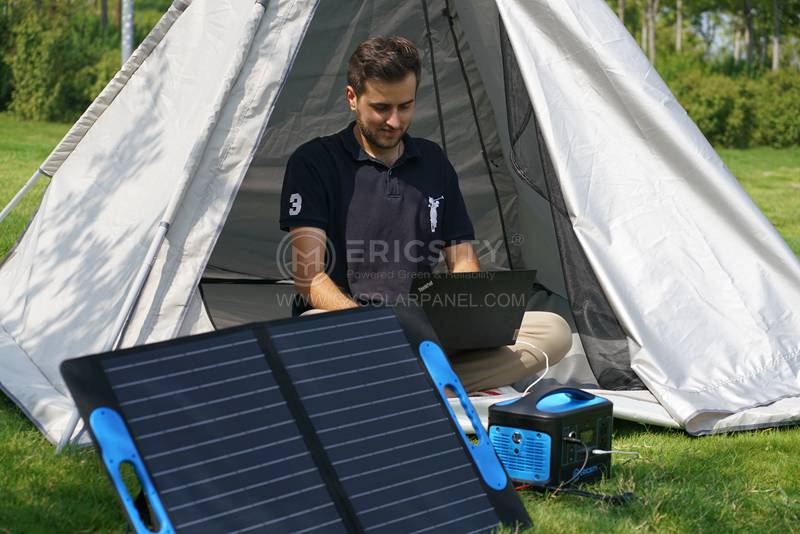
Installing solar panels on your property can be a rewarding and eco-friendly solution to meet your energy needs. In this step-by-step guide, we will cover the installation process for 120W flexible solar panels. These panels offer a convenient and efficient way to harness solar energy and can be easily integrated into various structures, including RVs, boats, and rooftops. By following this guide, you’ll learn how to install 120W flexible solar panels and take a step towards creating a more sustainable energy system.
Step 1: Assessing Your Installation Site (100 words)
Before installing your 120W flexible solar panels, it’s crucial to evaluate the installation site. Factors such as shade, orientation, and the integrity of the fixing surface must be considered. Ideally, the site should receive direct sunlight for the majority of the day without any obstructions. Roof surfaces should be sturdy and free from any damage or leaks. Additionally, ensure that the fixing surface is compatible with the flexible solar panels and can support their weight.
Step 2: Gathering the Required Materials and Equipment (100 words)
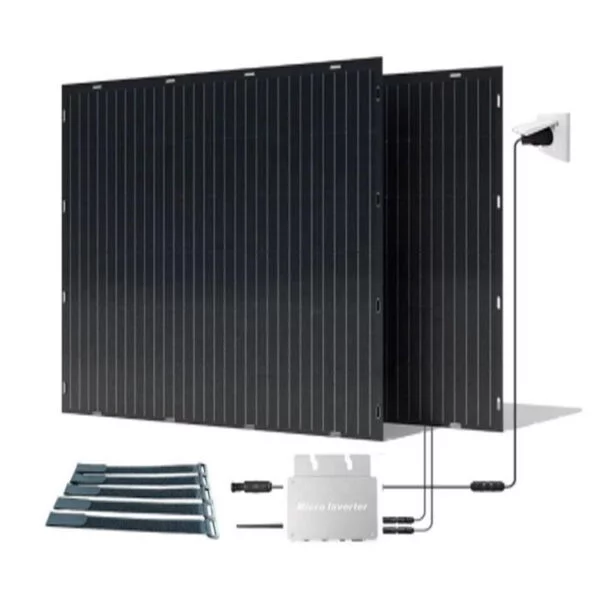
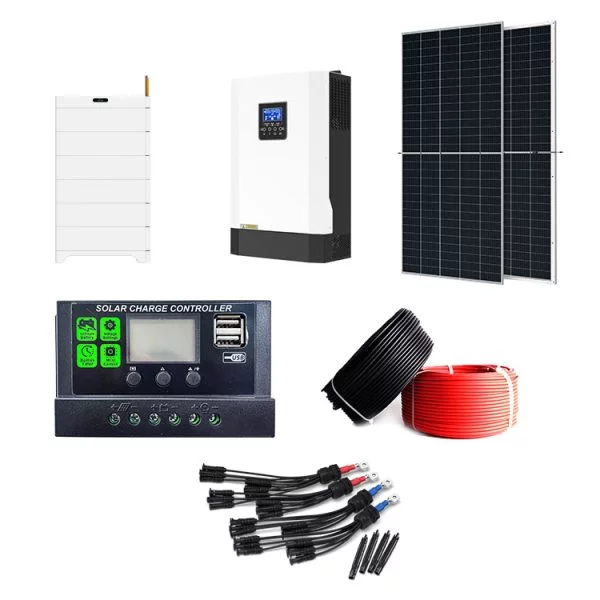
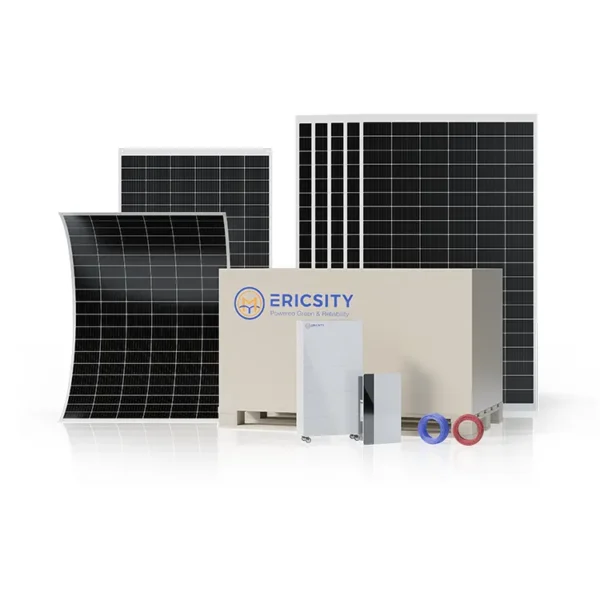
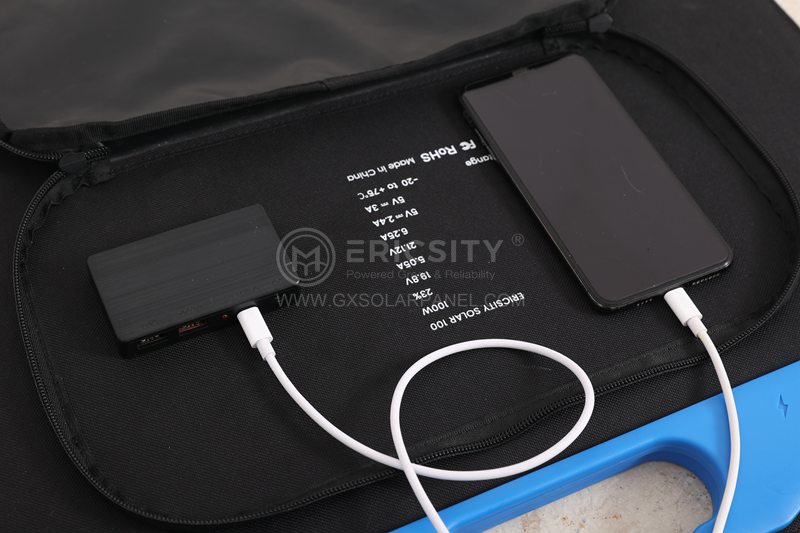
To begin the installation, gather the necessary materials and equipment. This typically includes 120W flexible solar panels, mounting brackets, a charge controller, inverters (if required), cables, connectors, a fuse, and appropriate tools such as a drill, wrench, screwdriver, and wiring pliers. Ensure that all the equipment is compatible, of high quality, and meets necessary safety standards.
Step 3: Mounting the Panels (200 words)
Start by carefully positioning the flexible solar panels on the installation surface. It is recommended to lay them out before attaching them, ensuring the optimal alignment for maximum sunlight absorption. Once satisfied with the positioning, mark the areas where brackets will be fixed. Drill holes at marked spots, ensuring they match the size of the mounting brackets. Securely attach the brackets to the surface using appropriate fixings, such as screws or bolts. Carefully mount the solar panels onto the brackets, verifying that they are securely affixed.
Step 4: Wiring and Connection (200 words)
Next, connect the solar panels to the charge controller using the appropriate cables and connectors. Ensure that the charge controller is compatible, as it helps regulate the power flow from the panels to the battery or grid. Follow the wiring diagram provided by the manufacturer to minimize the risk of electrical issues. It’s crucial to maintain correct polarity during the wiring process to avoid potential damages.
Step 5: Testing and Safety Measures (100 words)
After the wiring is complete, double-check all connections for security and proper connectivity. Inspect the system for any loose connections, damage, or exposed wiring that could pose a safety hazard. For added safety, install a fuse or circuit breaker between the charge controller and battery/grid connection. Finally, before energizing the system, consult local electrical codes, guidelines, and regulations to ensure compliance.
Conclusion (100 words)
Installing 120W flexible solar panels is an excellent eco-friendly option to generate sustainable energy. By carefully assessing the installation site, gathering the necessary equipment and materials, and following the steps in this guide, you can successfully install these panels. Remember to prioritize safety throughout the process and seek the assistance of a professional if unsure. By harnessing the sun’s power, you’re taking a significant step towards reducing your carbon footprint while enjoying the benefits of renewable energy.