HOT PRODUCT
Product Details
Installing 160w Flexible Solar Panels: A Step-by-step Guide
Title: Installing 160w Flexible Solar Panels: A Step-by-Step Guide
Introduction:
With the growing popularity of renewable energy, many individuals are opting for solar panels to power their homes and reduce their carbon footprint. In this step-by-step guide, we will explore the process of installing 160w flexible solar panels, providing you with the necessary instructions to embark on your eco-friendly journey. Let’s dive in!

Step 1: Assess Your Roof
Before proceeding with the installation, it is crucial to evaluate your roof’s suitability for solar panel installation. Ensure that your roof is structurally sound and receives ample sunlight throughout the day without shading from nearby obstructions. Assess the angle and orientation of your roof to maximize solar energy absorption.
Step 2: Gather the Required Tools and Materials
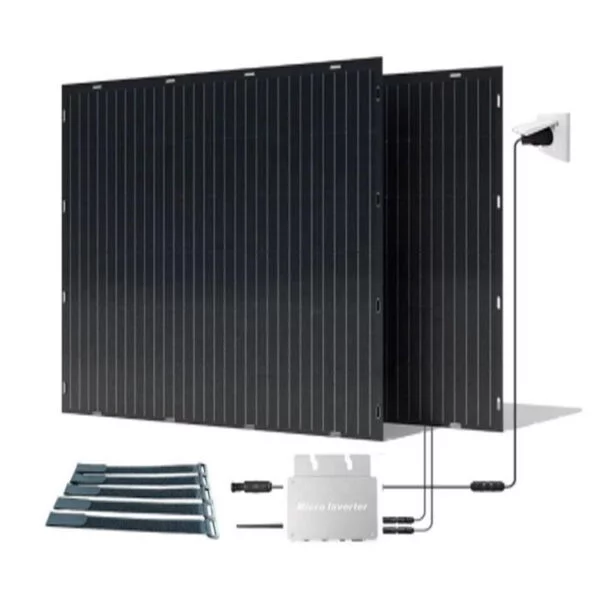
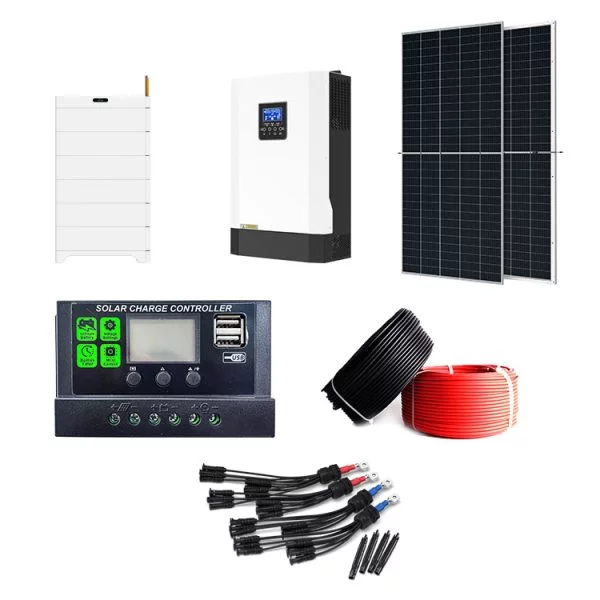
To successfully install your 160w flexible solar panels, gather the necessary tools and materials beforehand. This typically includes solar panels, mounting hardware, cables, solar charge controller, inverter, batteries (if using off-grid systems), and tools such as a drill, screwdriver, and wire cutters.

Step 3: Install Mounts and Rails
Start by installing mounts and rails on your roof according to the manufacturer’s instructions. Position the rails parallel to each other, ensuring sufficient spacing for panel placement. Use the provided hardware to secure the mounts and rails tightly. It is advisable to consult a professional if you are unfamiliar with roofing work or if your roof is complex.
Step 4: Connect the Solar Panels
Once the rails are properly installed, it is time to connect the solar panels. Carefully position and align each panel on the rails, ensuring a secure fit. Depending on the manufacturer’s recommendations, connect the panels using the provided connectors or wiring. Pay meticulous attention to the polarity and proper grounding to avoid any electrical issues or risks.
Step 5: Install the Solar Charge Controller and Inverter
Install the solar charge controller and inverter in a convenient location – indoors or near the panels, as per your system requirements. Ensure proper ventilation and follow the manufacturer’s instructions for mounting and connecting the devices. The charge controller regulates the flow of electricity from the panels and charges the batteries (if applicable), while the inverter converts the direct current (DC) generated by the panels into alternating current (AC) used in homes.
Step 6: Wire the System
Next, connect the solar panels to the solar charge controller following the specified guidelines. Use appropriately sized cables and connectors to facilitate efficient energy transmission. Ensure all connections are secured, and cables are neatly organized to minimize any potential damage or tripping hazards.
Step 7: Conduct Safety Checks
Before switching on the system, perform thorough safety checks. Verify that all connections are secure and free of loose wires. Inspect the panels, charge controller, and inverter for any visible damage. Double-check the grounding and polarity to avoid electrical hazards. If you are unsure about any aspect, consult a certified electrician or solar installer for professional assistance.

Step 8: Test the System
Finally, before celebrating your solar panel installation, conduct a comprehensive system test. Confirm that the panels are generating electricity by monitoring the charge controller’s display or utilizing a multimeter. Validate that the inverter is converting the generated energy into usable AC power. Check the functionality of any additional components, such as battery banks or grid connection (if applicable).
Conclusion:
Installing 160w flexible solar panels offers a convenient and sustainable approach to power generation. By following this step-by-step guide, you can confidently embark on the installation journey, reducing your reliance on traditional energy sources and making a positive impact on our planet. Remember, if you encounter any challenges during the process, it is always recommended to seek professional assistance to ensure a safe and successful installation.


