
HOT PRODUCT
Product Details
Source:
Date:
04-20 2025
Installing 175w Flexible Solar Panels: A Step-by-step Guide
Title: Installing 175W Flexible Solar Panels: A Step-by-Step Guide
Introduction (50 words):
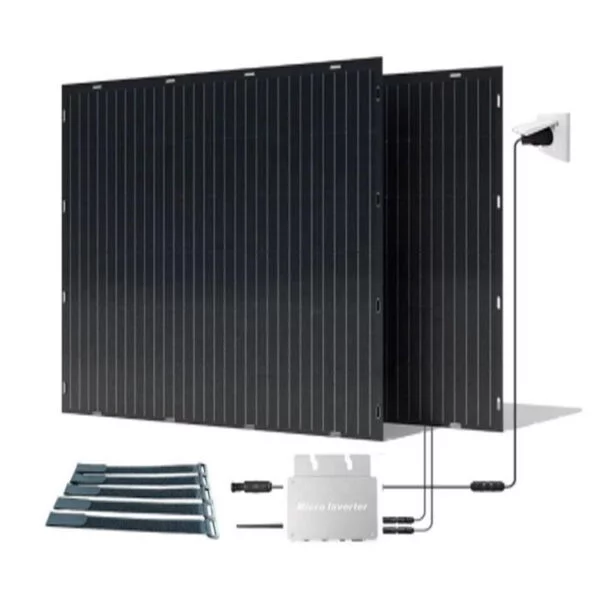
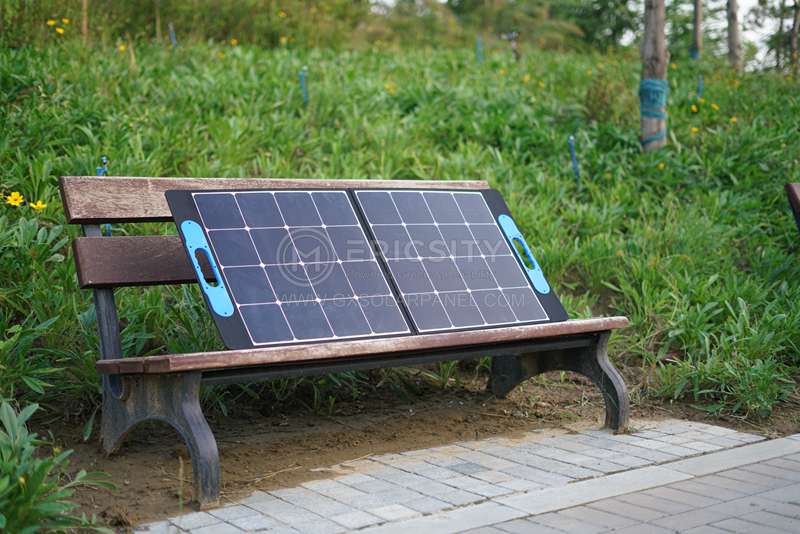
Flexible solar panels have gained popularity as an efficient and versatile alternative to traditional rigid solar panels. With their lightweight and bendable nature, they offer more installation possibilities and can be easily adapted to various surfaces. In this step-by-step guide, we will walk you through the process of installing 175W flexible solar panels.
Step 1: Gather the Required Tools (50 words):
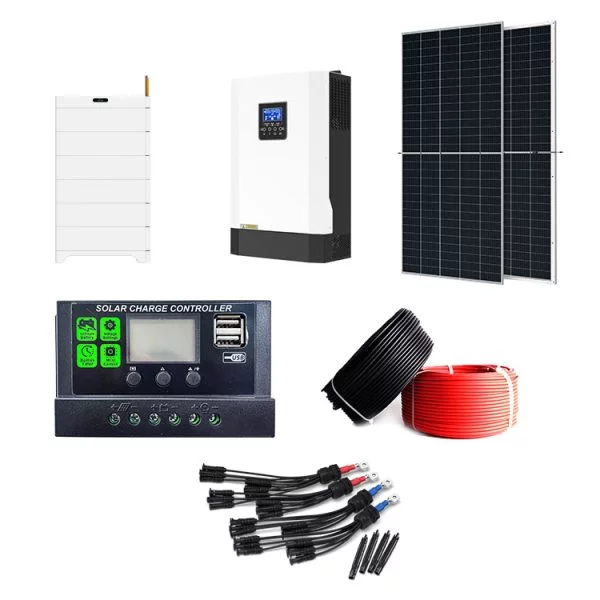
Before starting the installation, gather the necessary tools based on your specific setup and the manufacturer’s instructions. Common tools include a drill, screws, sealant, cable connectors, mounting brackets, a wire stripper, and a wrench. Ensure that you have the appropriate safety equipment such as gloves and safety glasses.
Step 2: Determine the Installation Location (100 words):
Select a suitable location for your flexible solar panels. Consider factors such as the amount of sunlight the area receives throughout the day, shadows from nearby obstructions, and the angle of the sun’s rays. Ideally, the panels should face south in the northern hemisphere or north in the southern hemisphere to maximize sun exposure. Additionally, ensure there is sufficient space for the panels and clear access to mount them securely.
Step 3: Prepare the Mounting Surface (100 words):
Clean the surface where you plan to mount the flexible solar panels thoroughly. Remove any dirt, debris, or residue that could impair the adhesive or cause uneven mounting. If necessary, use isopropyl alcohol to clean the surface. Ensure that the mounting surface is smooth, flat, and free from any irregularities that could affect panel adherence.
Step 4: Attach the Panels (150 words):
Carefully peel off the protective backing on the flexible solar panels without touching the adhesive side. Align the panels in the desired position on the mounting surface and apply firm, even pressure to secure them. Start from one side and gradually work your way to the other, smoothing out any air bubbles or wrinkles. If provided by the manufacturer, apply additional adhesive or use screws to reinforce the mounting.
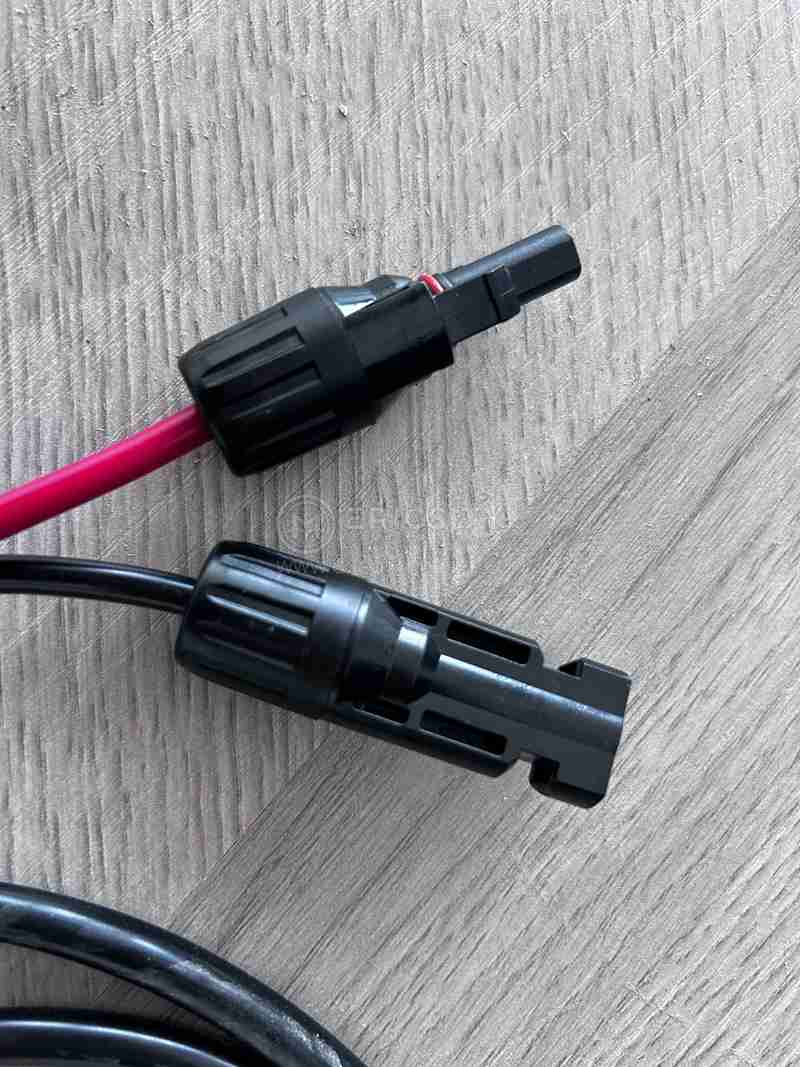
Step 5: Connect the Wiring (150 words):
Refer to your solar panel’s wiring diagram to determine the correct wiring configuration. Typically, you will need to connect the panels in series or parallel depending on your system’s requirements. Strip the insulation from the wire ends and attach the appropriate cable connectors. Connect the positive (+) terminal of one panel to the negative (-) terminal of the adjacent panel, ensuring a secure connection.
Step 6: Seal and Protect (100 words):
To enhance longevity and waterproofing, apply a layer of approved sealant to the edges of the flexible solar panels and along the wiring entry points. This will help protect the electrical connections and prevent moisture intrusion, helping to maintain optimal performance and safety.
Conclusion (50 words):
By following this step-by-step guide, you should be able to install 175W flexible solar panels efficiently and effectively. Remember to consult the manufacturer’s instructions and any local regulations to ensure a safe and compliant installation. Harnessing clean energy from the sun has never been easier with the advent of flexible solar panel technology.