HOT PRODUCT
Product Details
Installing 180w Flexible Solar Panels: A Step-by-step Guide
Installing 180W Flexible Solar Panels: A Step-by-Step Guide
Solar panels have become a popular choice for homeowners and businesses looking to reduce their carbon footprint and save money on their energy bills. With advancements in technology, flexible solar panels have emerged as a versatile and convenient option for installation. In this step-by-step guide, we will walk you through the process of installing 180W flexible solar panels on your property.
Step 1: Assess the Installation Site
Before you begin, it is important to assess the installation site to ensure it is suitable for solar panel installation. Consider factors such as the available sunlight, shading from nearby trees or buildings, and the orientation and tilt of the panels. Ideally, the panels should face south with minimal shading throughout the day for maximum efficiency.
Step 2: Gather the Necessary Tools and Materials
To install your 180W flexible solar panels, you will need the following tools and materials:
– 180W flexible solar panels: Purchase high-quality panels from a reputable supplier.
– Mounting brackets or adhesive: Depending on the type of installation, you can choose either mounting brackets or adhesive designed specifically for flexible solar panels.
– Screws, bolts, and washers: These will be required to secure the mounting brackets to the installation surface.
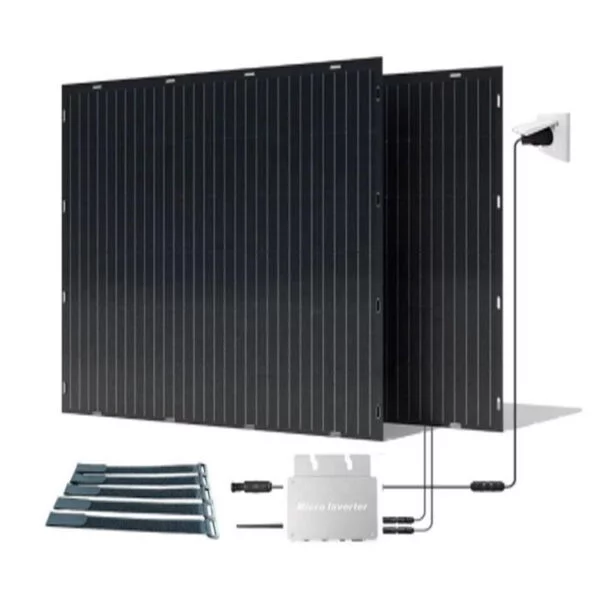
– DC connectors: These connectors will facilitate the connection between multiple solar panels.
Step 3: Prepare the Installation Surface
Ensure that the installation surface is clean and free from any debris or obstructions. If you plan to mount the panels on a roof, ensure that the surface is strong enough to support the weight of the panels. Remove any existing roofing materials if necessary.
Step 4: Install the Mounting Brackets or Use Adhesive
Depending on the mounting option you have chosen, now is the time to either install the mounting brackets or apply the adhesive. Follow the manufacturer’s instructions for proper installation. Ensure that the mounting brackets are securely fastened to the installation surface.
Step 5: Connect the Solar Panels
Connect the solar panels using the provided DC connectors. This step may vary depending on the specific connectors supplied with your panels. Ensure that the connectors are properly aligned and securely fastened to ensure a reliable electrical connection.
Step 6: Secure the Panels to the Mounting Brackets

Carefully lift the solar panels and place them onto the mounting brackets. Ensure that they are securely fastened to prevent movement or damage. Use screws, bolts, and washers to secure the panels in place, following the manufacturer’s guidelines.
Step 7: Connect the Panels to an Inverter
To convert the DC power generated by the solar panels into usable AC power, connect the panels to an inverter. Depending on the installation, this may involve additional wiring and connections. Consult the inverter’s manual for specific instructions.

Step 8: Test the System
Once the installation is complete, it is crucial to test the solar panel system to ensure it is functioning optimally and producing electricity. Monitor the output using monitoring tools provided with the panels or consult a professional if you encounter any issues.
In conclusion, installing 180W flexible solar panels can be an efficient and beneficial process for homeowners and businesses looking to harness solar energy. By following this step-by-step guide, you can successfully install and integrate these panels into your property, reducing your carbon footprint and saving money on energy bills in the long run.


