
HOT PRODUCT
Product Details
Source:
Date:
04-24 2025
installing Amorphous Flexible Solar Panels: A Step-by-step Guide
Installing Amorphous Flexible Solar Panels: A Step-by-Step Guide
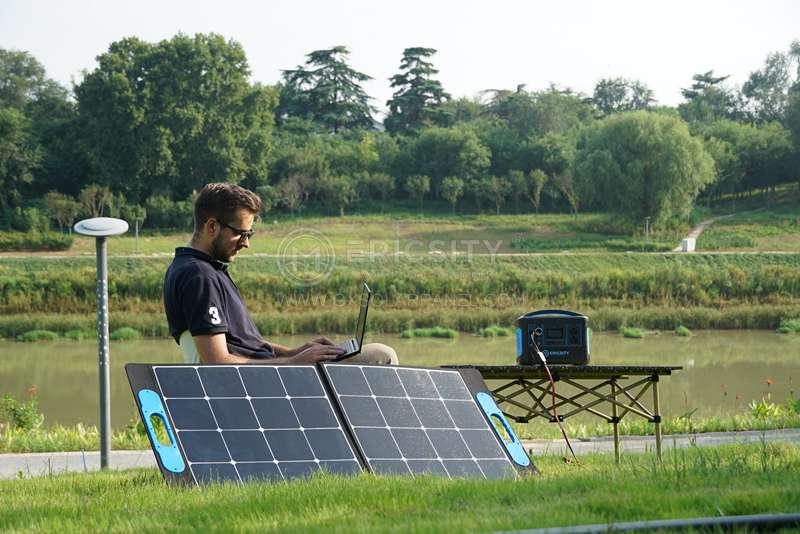
Solar energy has become a popular renewable energy source due to its environmental and cost benefits. Among various solar panel technologies available today, amorphous flexible solar panels have gained recognition for their unique characteristics. These panels are lightweight, durable, and most importantly, flexible, enabling them to be installed on curved or irregular surfaces. In this step-by-step guide, we will explore the process of installing amorphous flexible solar panels.
Step 1: Planning and Assessment
Before you begin the installation, it is important to assess the site where the solar panels will be installed. Consider factors such as sunlight exposure, any shade obstacles, and the orientation of the surface. Also, make sure to determine the energy requirements of your system to determine the number and size of the panels needed.
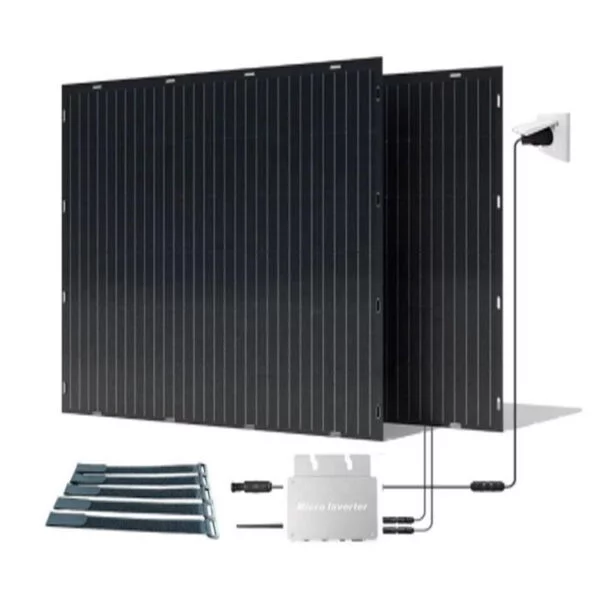
Step 2: Gather the Required Tools and Materials
To ensure a smooth installation process, gather the necessary tools and materials beforehand. This typically includes the amorphous flexible solar panels, mounting hardware, a drill, a screwdriver, cable connectors, wires, and an MPPT (Maximum Power Point Tracking) charge controller.
Step 3: Preparing the Surface
Start by cleaning the surface where the solar panels will be installed to remove any debris or dirt. Ensure that the surface is dry and smooth to provide optimal adhesion for the panels. If necessary, use a mild detergent and water to remove stubborn dirt. Allow sufficient time for the surface to dry completely.
Step 4: Mounting the Panels
Lay the amorphous flexible solar panels on the surface to determine the most suitable orientation. Ensure that the panels receive maximum sunlight exposure throughout the day. Once you have finalized the orientation, mark the positions where the panels will be mounted.
Next, attach the mounting hardware according to the manufacturer’s instructions. Typically, this involves drilling holes in the designated spots and securing the mounting brackets using appropriate screws and/or adhesive. Ensure that the mounting hardware is aligned properly and securely attached to the surface.
Step 5: Wiring the Panels
After the panels are mounted, carefully connect them in a series or parallel configuration to achieve the desired voltage and current output. Use cable connectors and wires to connect the positive terminals of one panel to the negative terminals of the adjacent panel. Repeat this process until all the panels are connected.
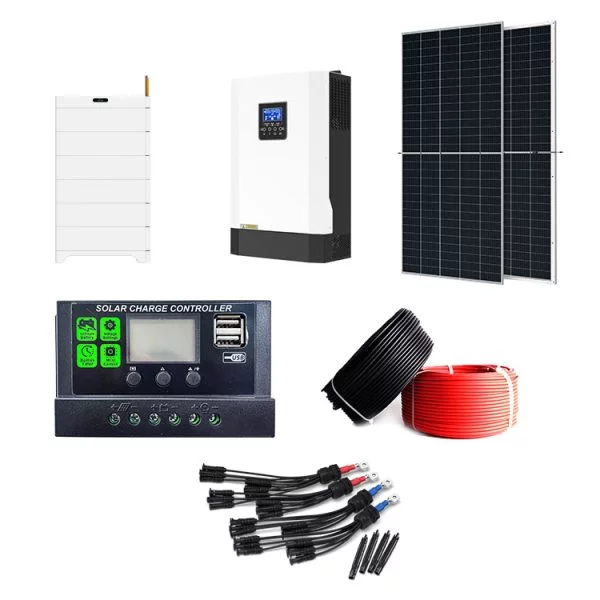
Step 6: Installing the Charge Controller and Battery
To regulate the charging process and store excess energy, install an MPPT charge controller and a battery. Place the charge controller in a suitable location near the solar panels, following the manufacturer’s instructions. Connect the solar panels’ output terminals to the charge controller’s input terminals.

Next, connect the charge controller’s output terminals to the battery, ensuring the correct polarity. This will allow the battery to charge during the day and supply power during the night or when sunlight is not available.
Step 7: Testing and Maintenance
Once the installation is complete, it is crucial to test the system for functionality and efficiency. Monitor the energy production and ensure that the panels are generating the expected amount of electricity. Regularly clean the surface of the panels to remove any dirt or debris that can decrease their efficiency.
Additionally, periodically inspect the mounting hardware, wiring, and connections to ensure everything remains secure and in good condition. If any maintenance or repairs are necessary, consult the manufacturer’s guidelines or seek professional assistance.
Conclusion
Installing amorphous flexible solar panels can be a rewarding and environmentally friendly investment. By following this step-by-step guide, you can harness the power of the sun and contribute to a sustainable future. Remember to plan and assess your installation site, gather the necessary tools and materials, and perform regular maintenance to ensure optimal performance and longevity of your solar panel system.