HOT PRODUCT
Product Details
installing Your Campervan Flexible Solar Panel Kit: A Step-by-step Guide
Installing Your Campervan Flexible Solar Panel Kit: A Step-by-step Guide
With the increasing popularity of campervan adventures, many enthusiasts are opting for solar power to harness sustainable energy. Installing a flexible solar panel kit on your campervan offers numerous benefits, including reduced carbon emissions, increased energy independence, and cost savings. If you’re considering this eco-friendly option, read on for a step-by-step guide to successfully install your campervan flexible solar panel kit.
1. Plan and Choose the Right Kit
Before purchasing a flexible solar panel kit, carefully plan your energy requirements. Assess your power needs by considering the appliances you intend to use and the duration of your trips. Make sure to choose a solar panel kit with the appropriate wattage to meet your needs. Additionally, opt for a high-quality, reliable kit that comes with a warranty to ensure longevity.

2. Gather the Required Tools and Materials
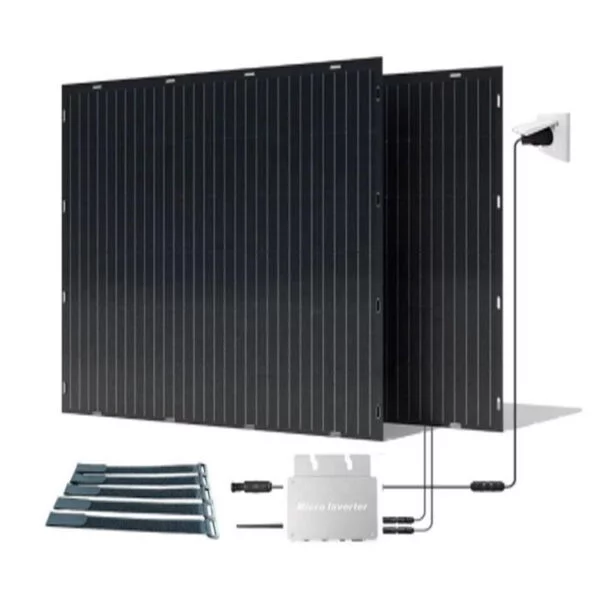
To install the kit, gather the necessary tools and materials beforehand to streamline the process. Some common tools and materials you may need include: flexible solar panel kit, mounting brackets, cable gland, adhesive, sealant, screws, screwdriver, wire cutters/strippers, drill, silicone sealant, and a voltmeter.
3. Determine the Optimal Placement
Next, identify the ideal location on your campervan to install the solar panels. For maximum exposure to sunlight, select a spot with minimal shade and obstructions. The roof is a popular choice, as it generally receives ample sunlight. Ensure there is enough surface area to accommodate the solar panels you’ve chosen.
4. Prepare the Mounting Surface
Thoroughly clean the mounting surface using a mild detergent, removing any dirt, grime, or debris that may hinder adhesion. Dry the surface completely to achieve a strong bond between the surface and adhesive.
5. Install the Mounting Brackets
Attach the mounting brackets to the prepared surface using screws and a screwdriver. Ensure they are securely fastened, as they will provide support and stability for the solar panels.

6. Connect the Wiring
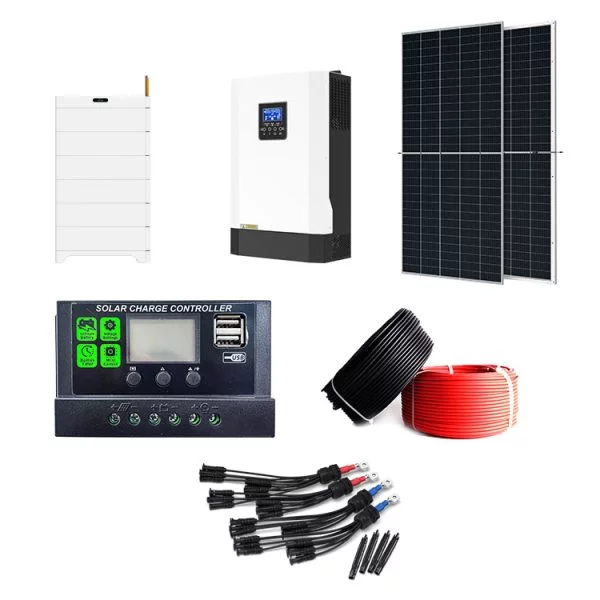
Carefully measure and cut the appropriate lengths of cables to connect the solar panels to your campervan’s battery. Use wire cutters/strippers to neatly trim the cable ends and strip a small portion of the insulation from each wire. Connect the positive and negative leads of the solar panels to the charge controller, follow the manufacturer’s instructions for proper connection methods. Lastly, connect the charge controller to the battery.
7. Secure the Solar Panels
Apply a generous amount of adhesive to the back of each solar panel. Carefully place the panels on the mounting brackets, ensuring they are evenly aligned and securely attached. Apply pressure to ensure proper adhesion and let the adhesive cure according to the manufacturer’s instructions.

8. Weatherproof the Installation
To prevent leaks and potential damage, use a cable gland to feed the wiring through your campervan’s roof. Seal the gland with silicone sealant to ensure a watertight seal. Apply silicone sealant around the edges of the installed solar panels as an additional layer of protection against water infiltration.
9. Test the System
Once the installation is complete, use a voltmeter to test the output of your solar panels. Ensure the readings match the expected voltage range. This step will help you verify that the system is functioning correctly.
By following this step-by-step guide, you can successfully install your campervan flexible solar panel kit. Enjoy the benefits of sustainable energy as you embark on memorable adventures while minimizing your environmental impact. Happy travels!


