
HOT PRODUCT
Product Details
Source:
Date:
07-04 2025
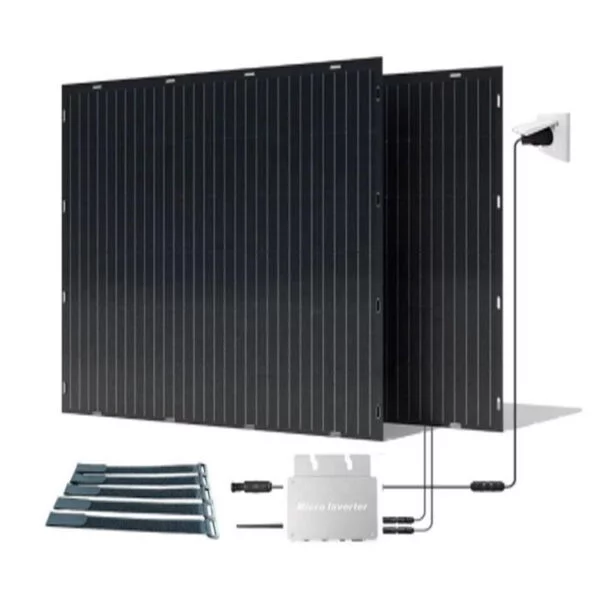
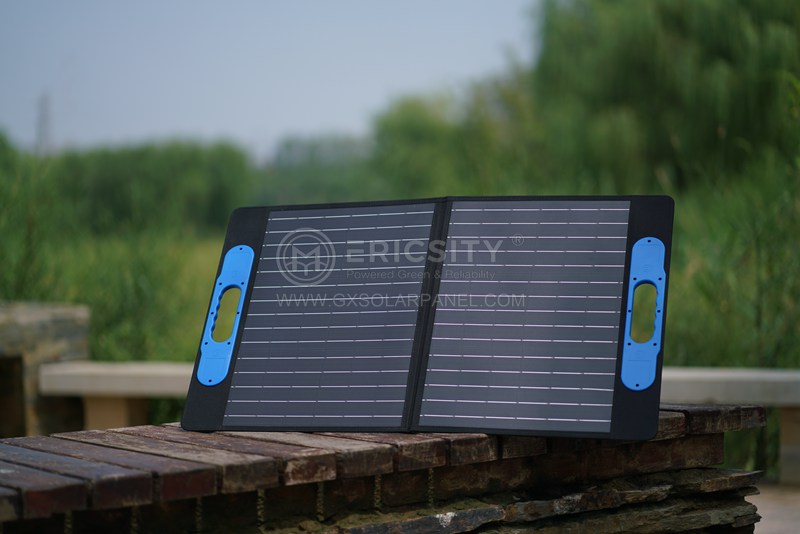
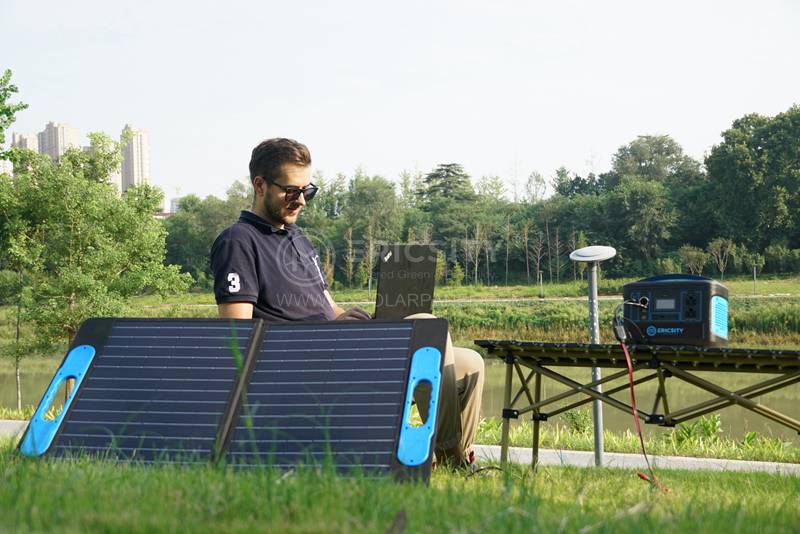
Mounting Made Easy: Installing 100w Semi-flexible Solar Panels
Mounting Made Easy: Installing 100w Semi-flexible Solar Panels
Installing solar panels is a great way to harness renewable energy and reduce your carbon footprint. Among the various options available, 100w semi-flexible solar panels are increasingly popular due to their flexibility and ease of installation. In this article, we will guide you through the process of mounting these panels, making your transition to solar power hassle-free.
Step 1: Gather the Tools and Materials
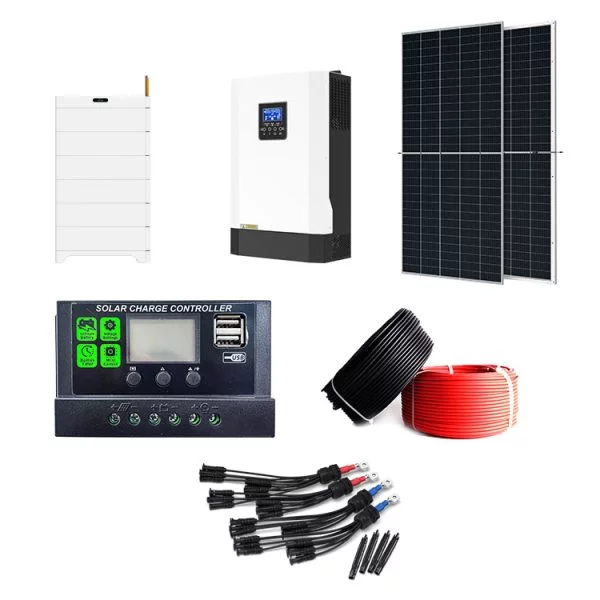
Before you begin the installation, make sure you have all the necessary tools and materials. Here’s a list of items you will need:
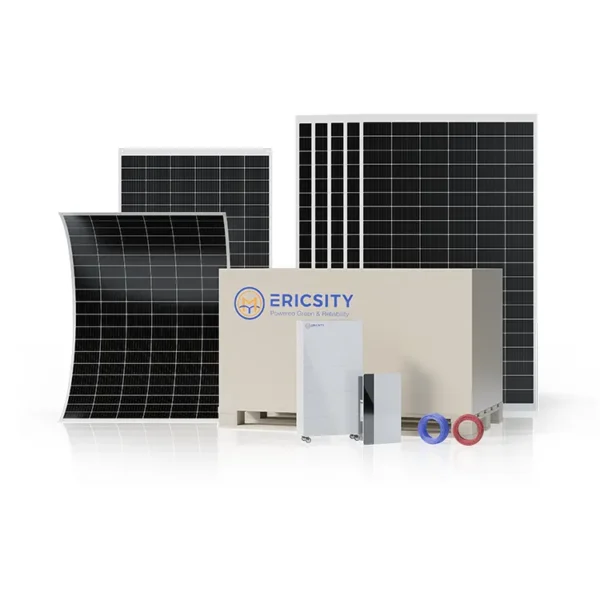
1. 100w semi-flexible solar panels
2. Mounting brackets or adhesive backing
3. Drill
4. Stainless steel screws or adhesive
5. Screwdriver or electric screwdriver
6. Sealant
7. Wire connectors
8. Safety goggles and gloves
Ensure that you have taken all necessary safety precautions before starting the installation process.
Step 2: Choose the Mounting Location
Selecting the right location for your solar panels is crucial for optimal energy generation. Look for a spot that receives ample sunlight throughout the day, away from any obstructions like trees or buildings. Additionally, ensure that the roof or surface you choose is sturdy and capable of supporting the weight of the panels.
Step 3: Prepare the Mounting Surface
If you are using mounting brackets, position them on the surface where you want to install the panels. Ensure that they are level and mark the spots where you will be attaching them. If you are using adhesive backing, clean the surface thoroughly to remove any dirt, debris, or moisture. This will ensure a strong and durable bond.
Step 4: Attach the Solar Panels
If you opted for mounting brackets, align the holes on the solar panels with those on the brackets and secure them tightly using stainless steel screws. Make sure the panels are firmly in place but do not overtighten the screws, as this might damage the panel’s surface.
If using adhesive backing, carefully remove the protective film from the adhesive and firmly press the panels onto the prepared surface. Apply even pressure across the surface of the panel to ensure a secure bond.
Step 5: Connect the Wiring
After the panels are securely mounted, connect them using appropriate wire connectors. Follow the manufacturer’s instructions for proper wiring, ensuring that all connections are tight and secure. If needed, trim or conceal excess wiring to maintain a neat and organized appearance.
Step 6: Apply Sealant
While not mandatory, applying a sealant around the edges of the solar panels can provide additional protection against moisture and enhance their longevity. Use a weather-resistant sealant recommended for outdoor use, and apply it carefully along the edges of the panels.
Step 7: Test the System
Once the installation is complete, it is important to test the functionality of your solar panel system. Verify that all connections are secure and that the panels are generating electricity. Monitor the output to ensure that everything is working as expected.
Final Words
With the increasing popularity of solar energy, the installation of 100w semi-flexible solar panels has become easier than ever. By following these simple steps, you can mount your solar panels efficiently and start harnessing clean energy from the sun. Don’t forget to conduct regular maintenance and cleaning to maximize the efficiency and longevity of your solar panels. Enjoy the benefits of sustainable energy while contributing to a greener future.