
HOT PRODUCT
Product Details
Source:
Date:
05-21 2025
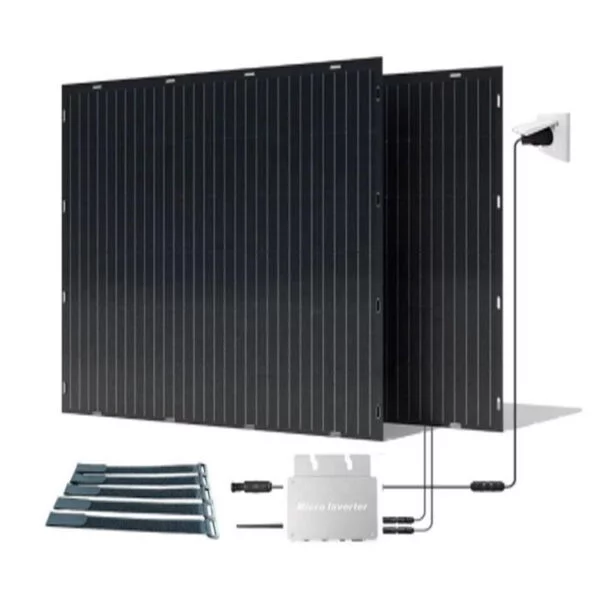
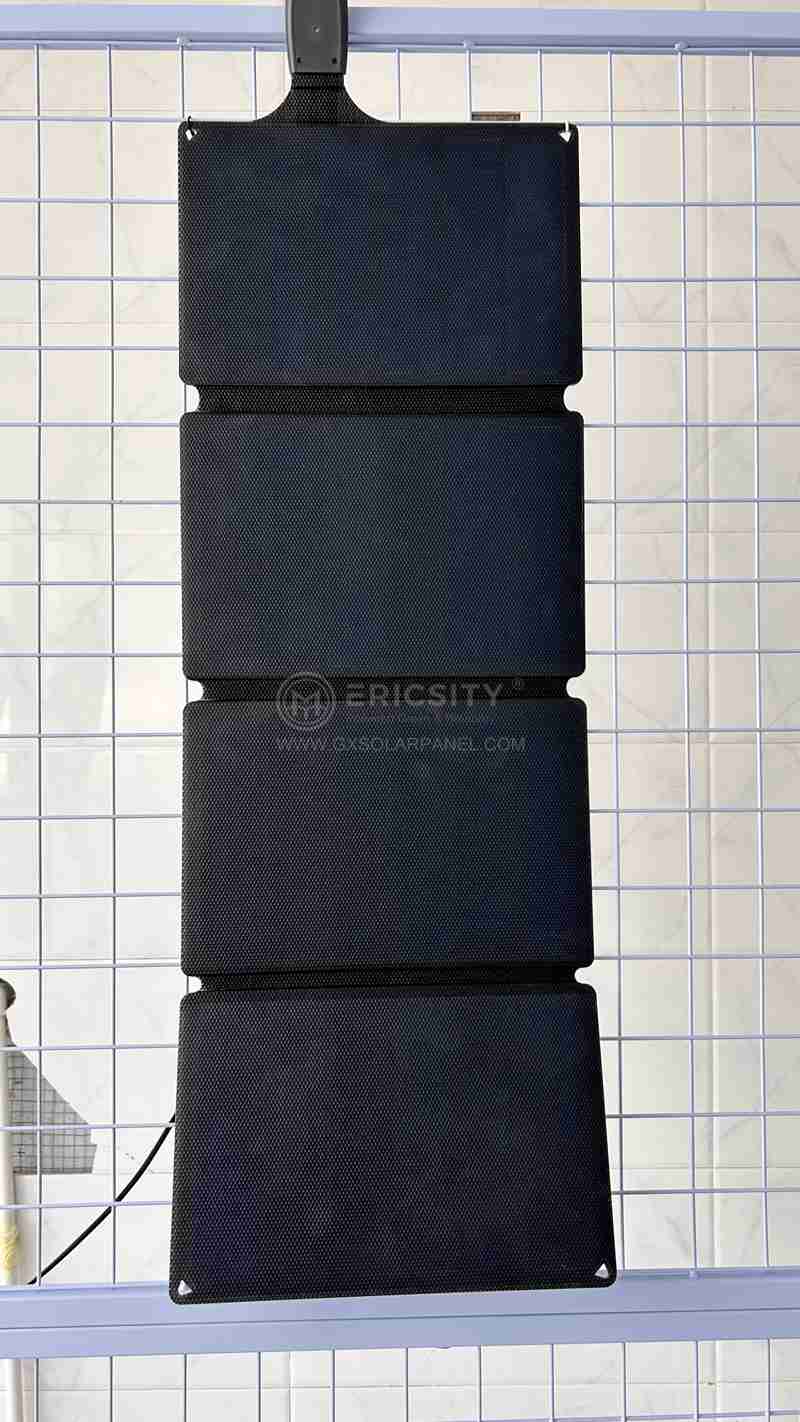
Mounting Made Easy: Installing 175w Flexible Solar Panels
Title: Mounting Made Easy: Installing 175w Flexible Solar Panels
Introduction (50 words):
Installing solar panels is an excellent way to harness renewable energy and reduce your carbon footprint. In recent years, flexible solar panels have gained popularity due to their lightweight construction and versatility. In this article, we will guide you through the process of installing 175w flexible solar panels, providing step-by-step instructions for a successful installation.
1. Choosing the Right Location (100 words):
Before beginning the installation process, it is essential to select an optimal location for your flexible solar panels. The chosen spot should receive maximum sunlight throughout the day, preferably on a south-facing roof. Avoid areas that may be shaded by trees or nearby structures, as these can significantly affect the overall efficiency of your solar panels.

2. Preparing the Mounting Surface (100 words):
Preparation is crucial to ensure a stable and secure mounting surface for your flexible solar panels. Start by thoroughly cleaning the mounting area, removing any debris or dirt. Next, measure and mark the desired positions for the panels, ensuring appropriate spacing between them. If necessary, use a roof sealant to create a watertight seal around the mounting area to prevent any potential leaks in the future.
3. Mounting the Panels (250 words):
To mount the flexible solar panels, you will need to use high-quality mounting brackets specifically designed for flexible panel installations. These brackets are typically made from stainless steel or aluminum and are resistant to corrosion and weathering.
Begin by attaching the mounting brackets to the panel’s corners or at evenly spaced intervals along the edges. Make sure to align the brackets accurately to avoid any misalignment issues during the installation process. Then, place the panels on the prepared mounting surface, ensuring they are positioned correctly according to the previously marked spots.
Using a drill and the appropriate screws, secure the mounting brackets to the roof surface or any other designated area. Take extra care not to over-tighten the screws, as excessive force might damage the flexible panels.
Once the panels are securely mounted, connect the wires to the appropriate terminals as per the panel’s instructions. It is essential to follow the manufacturer’s guidelines for proper connections to ensure optimum performance.
4. Final Checks and Maintenance (150 words):
After completing the installation, perform a thorough inspection to ensure the panels are securely mounted and properly connected. Check for any loose screws or brackets and tighten them if necessary. Inspect the wiring connections to ensure there are no loose or exposed wires.
Regular maintenance is essential to maximize the performance and longevity of your flexible solar panels. Cleaning the panels periodically with a soft cloth or non-abrasive sponge and a mild detergent can help remove dirt and debris. Avoid using abrasive materials or harsh chemicals that may scratch or damage the panel’s surface.
Additionally, monitor your solar panels’ efficiency and output periodically. This will help you identify any potential issues or decreases in performance, allowing for timely repairs or maintenance.
Conclusion (50 words):
Installing 175w flexible solar panels is a rewarding process that enables you to generate clean and sustainable energy. By choosing the right location, properly preparing the mounting surface, and following the manufacturer’s guidelines, you can easily mount your solar panels and contribute to a greener tomorrow.