
HOT PRODUCT
Product Details
Source:
Date:
05-10 2025
Navigating The Wiring: Connecting Flexible Solar Panels To Your Rv System
Navigating The Wiring: Connecting Flexible Solar Panels To Your RV System
Are you an avid adventurer who loves hitting the road in your RV? Do you want to embrace a more eco-friendly lifestyle by harnessing the power of the sun? If your answer is yes, then installing flexible solar panels onto your RV is the way to go. Not only will they help reduce your carbon footprint, but they will also provide you with a sustainable and reliable source of power wherever you roam.
However, before you embark on this solar-powered journey, it is essential to understand how to properly connect and wire your flexible solar panels to your RV system. This guide will take you through the step-by-step process, ensuring that you can navigate the wiring with ease.
1. Determine Your Solar Power Needs:
Before diving into the installation, it is crucial to assess your power requirements. Calculate the amount of energy you need to sustain your RV’s appliances and devices. This calculation will help you determine the number and size of flexible solar panels required for your setup.
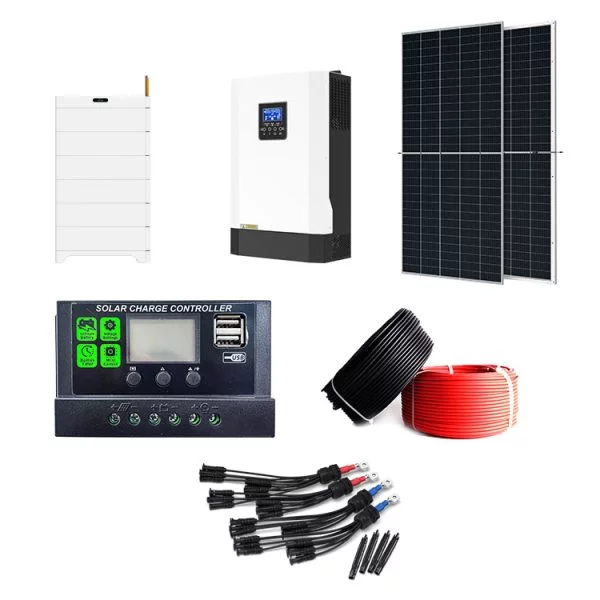
2. Select the Right Equipment:
Investing in quality solar equipment is vital for the efficiency and longevity of your system. Get high-quality flexible solar panels, a charge controller, an inverter, and suitable cables and connectors that can handle the power output of the panels.
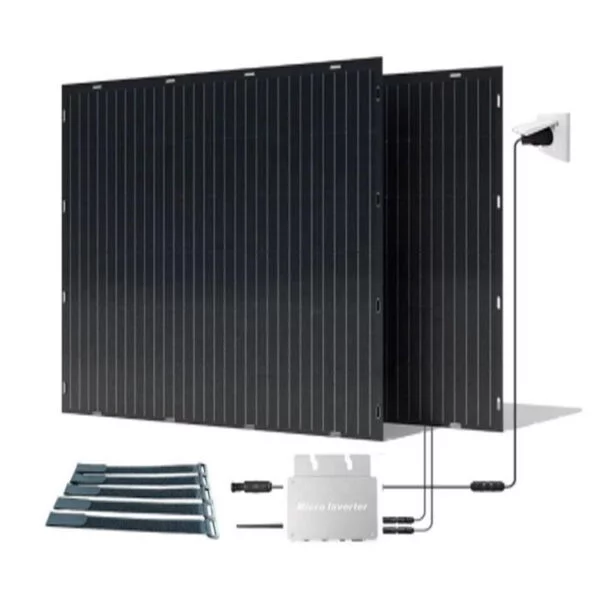
3. Installing Flexible Solar Panels:
Identify a suitable location on your RV’s roof for mounting the flexible solar panels. Ensure that the area is free from any obstructions such as vents or antennas. Clean the surface thoroughly before applying adhesive tape or glue to secure the panels. Allow sufficient drying time for the adhesive before moving on to the next step.
4. Connect Solar Panels to Charge Controller:
To prevent overcharging and damage to your battery, connecting your solar panels to a charge controller is crucial. Start by connecting the positive and negative leads from the panels to the charge controller’s input terminals. Follow the manufacturer’s instructions for specific wiring configurations.
5. Connect Charge Controller to Battery Bank:
Next, connect the charge controller to your RV’s battery bank. Use appropriate-sized cables and connectors to ensure optimal current flow. Connect the positive and negative leads from the charge controller’s output terminals to the corresponding terminals of the battery bank.
6. Connecting the Inverter:
If you plan on using AC-wired devices in your RV, you will need an inverter to convert the DC power from the battery bank to AC power. Connect the inverter to the battery bank, following the manufacturer’s instructions and taking care to connect the positive and negative leads correctly.
7. Wiring Safety Precautions:
During the entire wiring process, it is essential to consider safety precautions. Make sure all connections are secure, cables are well-insulated, and there are no loose or exposed wires that could cause a short circuit. Proper grounding of your system is also crucial for safety.
8. Testing and Maintenance:
After the wiring is complete, it is important to test your RV’s solar system. Monitor the charge controller, battery bank, and inverter to ensure everything is functioning correctly. Regularly inspect and clean the solar panels to maintain their efficiency and remove any dirt or debris.
By following these steps, you can confidently navigate the wiring process and successfully connect flexible solar panels to your RV system. Enjoy the freedom of sustainable energy as you explore the open road with minimal impact on the environment. Happy travels!