
HOT PRODUCT

Product Details
Source:
Date:
07-12 2025
Off-grid Adventures Simplified: Installing A 50w Flexible Solar Panel Kit
Off-grid Adventures Simplified: Installing A 50W Flexible Solar Panel Kit
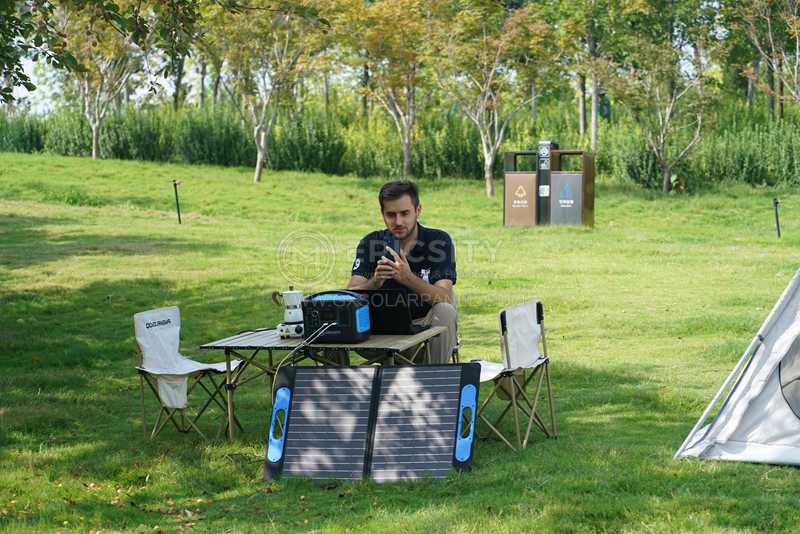
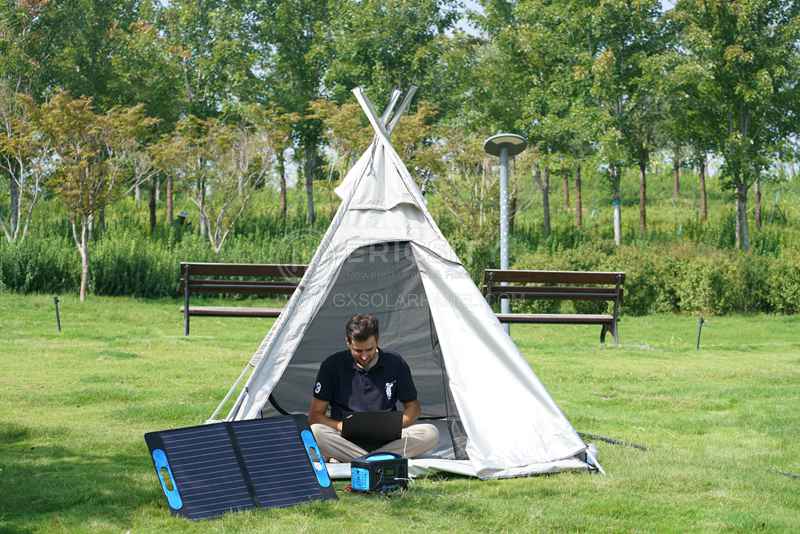
In recent years, the popularity of off-grid adventures has skyrocketed, with more and more people seeking solitude and connection with nature. Whether you are going on a camping trip or embarking on a long-term van life experience, having a reliable power source is essential. This is where a 50W flexible solar panel kit comes into play, offering a convenient and sustainable way to harness solar energy. In this article, we will explore the benefits of using a 50W flexible solar panel kit and guide you through the installation process, making your off-grid adventures a breeze.
1. Benefits of a 50W Flexible Solar Panel Kit
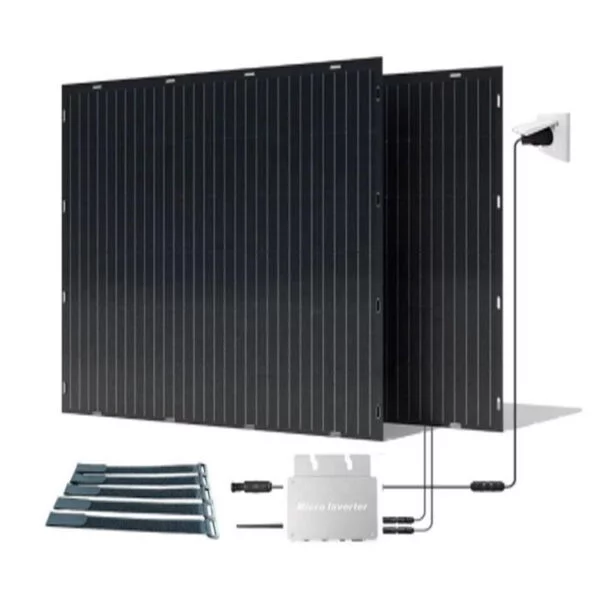
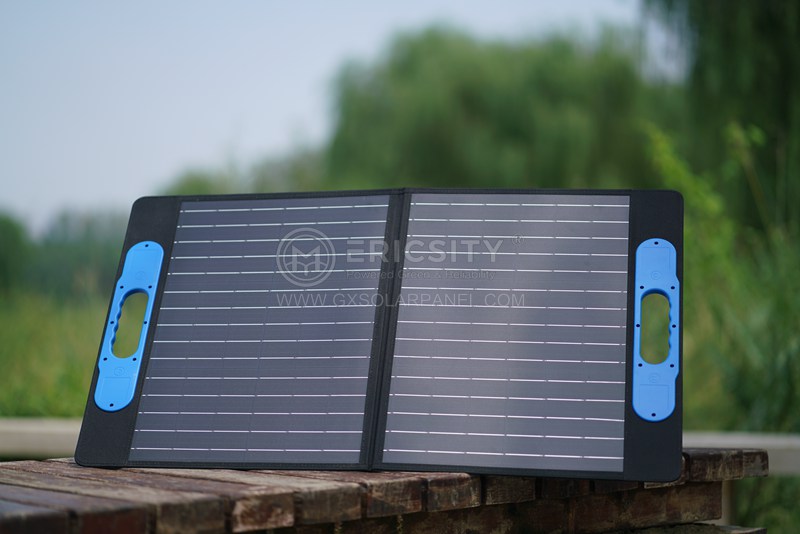
– Compact and Lightweight: Traditional solar panels are bulky and heavy, making them less practical for mobile adventures. A 50W flexible solar panel kit is designed with portability in mind. The flexible panels are lightweight, thin, and can easily be rolled up or folded, making them ideal for outdoor enthusiasts.
– Versatility: The flexibility of these solar panels enables you to attach them to various surfaces, such as your vehicle’s roof, tent, or backpack. They can adapt to curved or uneven surfaces, maximizing the available space for solar power generation.
– Efficient Power Generation: Despite their smaller size, these solar panels still deliver an impressive amount of power. With a 50W solar panel, you can charge your devices, run lights, power small appliances, and even recharge your portable power bank.
– Easy Maintenance: Flexible solar panels are durable and resistant to harsh weather conditions. Unlike traditional panels, which can be easily damaged, these panels are designed to withstand bending and high impacts. Additionally, they require minimal maintenance, allowing you to focus on your adventures rather than worrying about upkeep.
2. Installation Process
– Step 1: Assess Your Power Needs – Before installing a solar panel kit, evaluate your power requirements. Determine the number of devices you need to charge and estimate their power consumption. This information will help you choose the appropriate solar panel kit for your needs.
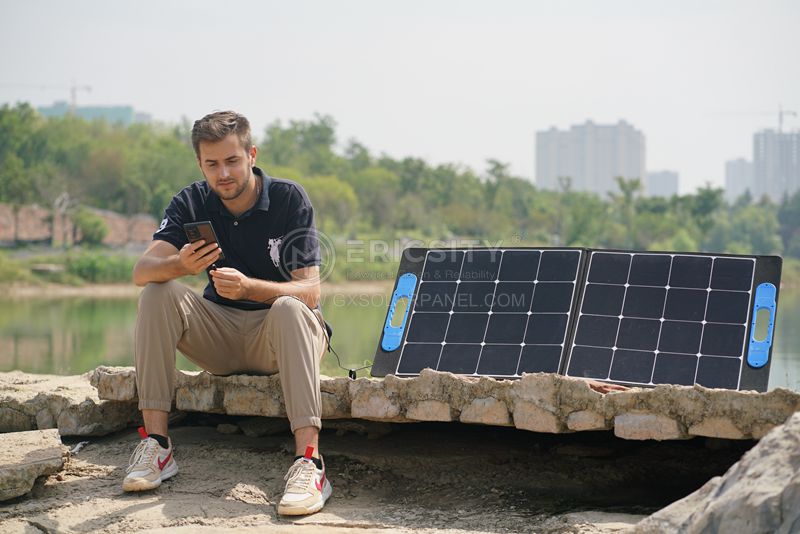
– Step 2: Find an Optimal Location – Look for a spot that receives ample sunlight throughout the day. Ensure there are no obstructions like trees or buildings blocking the sun’s rays. It is also important to consider the angles and orientation of the solar panel for optimal energy absorption.
– Step 3: Mounting the Solar Panel – Depending on your specific kit, you may need to attach mounting brackets to your chosen surface. Follow the manufacturer’s guidelines for securing the solar panel in place. Take care to seal any drilled holes to prevent water leakage.
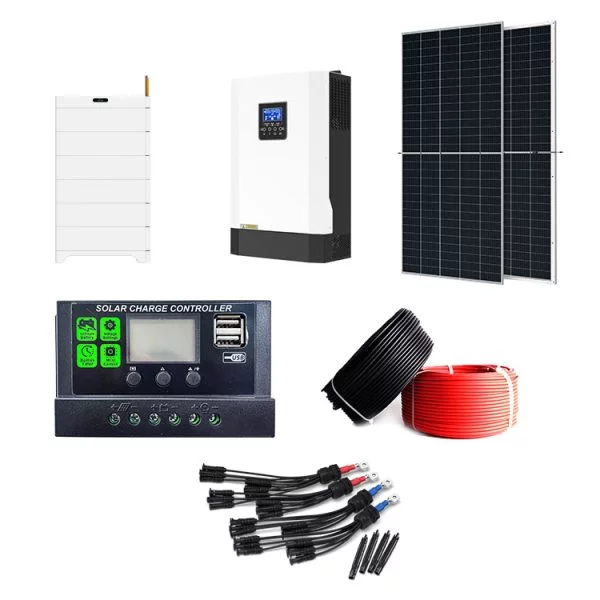
– Step 4: Connect the Wires – Connect the solar panel to your charge controller using the provided wires. Ensure that the positive and negative terminals are correctly aligned to avoid any mishaps. The charge controller regulates the power flow and protects your batteries from overcharging.
– Step 5: Battery Connection – Connect your charge controller to your battery bank via the designated wires. This step is crucial in storing the generated solar power for future use. Again, ensure the positive and negative terminals are correctly connected.
– Step 6: Test the System – Once everything is connected, perform a test to ensure proper functionality. If all is well, you are ready to harness the sun’s energy and embark on your off-grid adventures.
With a 50W flexible solar panel kit, you can unlock the freedom of off-grid living or create a reliable power source during your outdoor expeditions. Its convenience, versatility, and efficiency make it an excellent choice for those seeking a sustainable way to power their devices and equipment. By following the installation steps provided, you will simplify the process and be well on your way to enjoying the benefits of clean and renewable energy wherever your adventures take you.