HOT PRODUCT
Product Details
Powering Your Rv Adventure: A Step-by-step Guide To Flexible Solar Panel Installation
Powering Your RV Adventure: A Step-by-Step Guide to Flexible Solar Panel Installation
If you’re an avid RVer, you know the importance of having a reliable and efficient power source while on the road. Traditional power options such as generators and shore power connections can be costly, noisy, and restrictive. That’s where flexible solar panels come in. They provide a sustainable and convenient way to power your RV, giving you the freedom to explore off-the-grid locations without compromising on comfort.
In this step-by-step guide, we will walk you through the process of installing flexible solar panels on your RV, helping you harness the power of the sun to fuel your adventures.
Step 1: Determine Your Power Needs
Before jumping into the installation process, it’s essential to assess your power requirements. Calculate the energy consumption of the appliances and devices you plan to use in your RV, including lights, refrigerator, television, water pump, and other electronics. This will help you determine the size and number of solar panels you need to install.
Step 2: Choose the Right Solar Panels
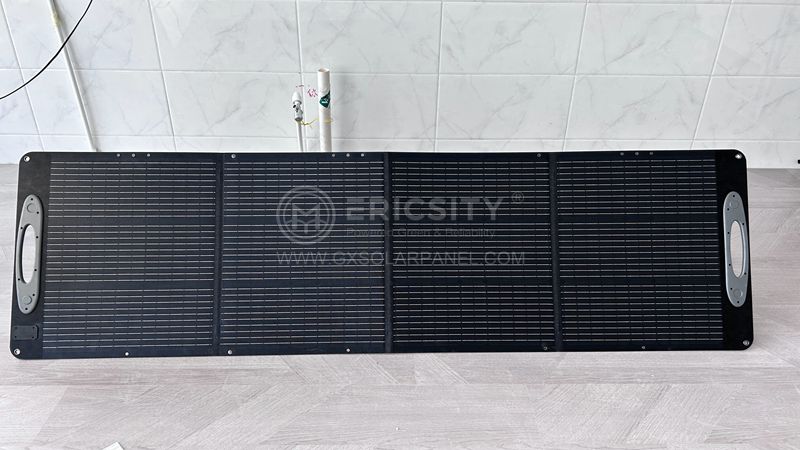
When it comes to flexible solar panels, there are several options available on the market. Consider factors such as efficiency, power output, durability, and flexibility. Look for panels specifically designed for RVs, as they are lightweight and can conform to the curved shape of your RV’s roof. Additionally, check for certifications like UL1703, which ensures the panels meet quality and safety standards.
Step 3: Prepare the Surface
Before installing the solar panels, it’s crucial to prepare the surface properly. Start by cleaning your RV roof to remove any dirt, debris, or grease. Use a non-abrasive cleaner and a soft cloth or sponge. Ensure the roof is dry before proceeding to the next step.

Step 4: Mounting the Solar Panels
Flexible solar panels are typically attached to the RV roof using adhesive or screws. Choose the method that suits your needs and follow the manufacturer’s instructions. If using adhesive, ensure it is compatible with both the solar panels and your RV roof material. Position the panels in a location that receives maximum sunlight exposure, usually on the top surface of the RV.
Step 5: Wiring the Solar Panels
Once you have mounted the solar panels, it’s time to connect them to your RV’s electrical system. Start by routing the wiring from the panels to your RV’s battery compartment. Use appropriate wire gauges to handle the electrical load and minimize power loss. It’s recommended to install a charge controller between the panels and the battery to regulate the charging process and prevent overcharging.
Step 6: Connecting to the Battery

Connect the solar panel’s wiring to the charge controller first and then connect the charge controller to your RV’s battery bank. Ensure you follow the correct polarity (positive to positive, negative to negative) and use appropriate connectors or cables. It’s vital to include proper fusing and disconnect switches for safety purposes.
Step 7: Testing and Monitoring
After completing the installation, check the solar panel system to ensure it is working correctly. Monitor the charge controller’s display or use a separate solar system monitor to track your solar panel’s performance, battery voltage, and overall power consumption. This will help you optimize your energy usage and troubleshoot any issues that may arise.
In conclusion, installing flexible solar panels on your RV can revolutionize your camping experience. By following this step-by-step guide, you can effectively harness the power of the sun and enjoy the freedom of off-grid adventures. Remember, proper installation and regular maintenance are key to maximizing the lifespan and efficiency of your solar panel system. So, power up your RV with solar energy and embark on endless, eco-friendly adventures!


