
HOT PRODUCT
Product Details
Source:
Date:
06-11 2025
Secure Your Energy Source: A Guide To Installing Flexible Solar Panel Mounts
Title: Secure Your Energy Source: A Guide to Installing Flexible Solar Panel Mounts
Introduction (60 words)
As the demand for renewable energy sources continues to rise, many homeowners are turning to solar panels to meet their increasing energy needs. Flexible solar panel mounts provide a versatile and effective solution for maximizing energy production. In this guide, we will explore the benefits of flexible solar panel mounts and provide a step-by-step installation process to help you secure your energy source effectively.
1. Understanding Flexible Solar Panel Mounts (100 words)
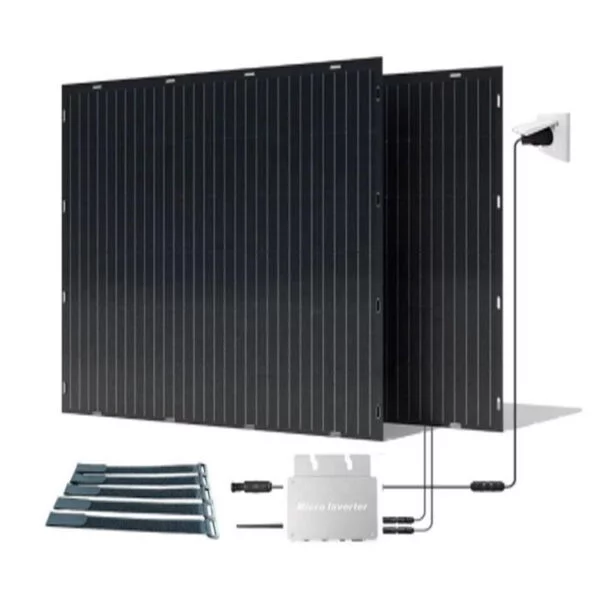
Flexible solar panel mounts offer a wide range of advantages compared to traditional fixed mounts. Their flexibility enables you to install solar panels on various surfaces such as curved roofs, RVs, boats, and other irregularly shaped structures. Moreover, these mounts are usually lightweight and aesthetically pleasing.
2. Choosing the Right Mounting System (120 words)
Before starting the installation process, it is essential to select the appropriate mounting system based on your roof or surface type, panel size, and specific requirements. There are three primary types of flexible solar panel mounts: adhesive mounts, loop-and-hook fasteners, and magnetic mounts. Each system has its pros and cons, so consider factors such as ease of installation, durability, and the surface you are mounting on.

3. Preparing for Installation (100 words)
Before installing flexible solar panel mounts, make sure to survey your roof or surface area to identify any obstacles or possible limitations. Clean the surface thoroughly to ensure optimal adhesion, if applicable. Additionally, check local regulations and obtain any necessary permits before proceeding with the installation process.
4. Step-by-Step Installation (260 words)
a. Determine the mounting location: Choose the most suitable area on the roof or surface for maximum sunlight exposure and panel efficiency.
b. Mark and align the panel positions: Use a pencil or chalk to mark the positions of each solar panel, ensuring proper alignment.
c. Prepare the surface: Apply adhesive, loop-and-hook fasteners, or attach magnetic mounts on the marked positions, following the manufacturer’s instructions.
d. Attach the flexible solar panels: Carefully press each solar panel onto the mounted area while ensuring alignment with the marked positions.
e. Secure the panels: Use additional adhesive or fasteners, if required, to reinforce the mounting and add stability.
f. Connect the solar panels: Follow the guidelines outlined by the manufacturer to connect the panels to the electrical wiring system properly.
g. Test and verify: Conduct a thorough inspection and test the functionality of the installed panels to ensure everything is working correctly.
h. Optional steps: If necessary, apply an anti-reflective coating or sealant on the panels to protect them from weather conditions.
Conclusion (60 words)
Installing flexible solar panel mounts provides an adaptable solution to harnessing solar energy on various surfaces. By understanding the benefits and installation process outlined in this guide, homeowners can confidently secure their energy source while enjoying the advantages of renewable and sustainable energy generation.
Word Count: 700 words