
HOT PRODUCT
Product Details
Source:
Date:
02-19 2025
Solar Energy Simplified: Installing 150w Flexible Solar Panels
Title: Solar Energy Simplified: Installing 150W Flexible Solar Panels
Introduction
As the demand for sustainable energy sources continues to rise, solar energy has emerged as a highly viable option. Harnessing solar power not only reduces dependence on fossil fuels but also provides a clean and renewable energy source. This article aims to simplify the process of installing 150W flexible solar panels, making solar energy more accessible to homeowners and enthusiasts alike.
Understanding the Benefits of Flexible Solar Panels
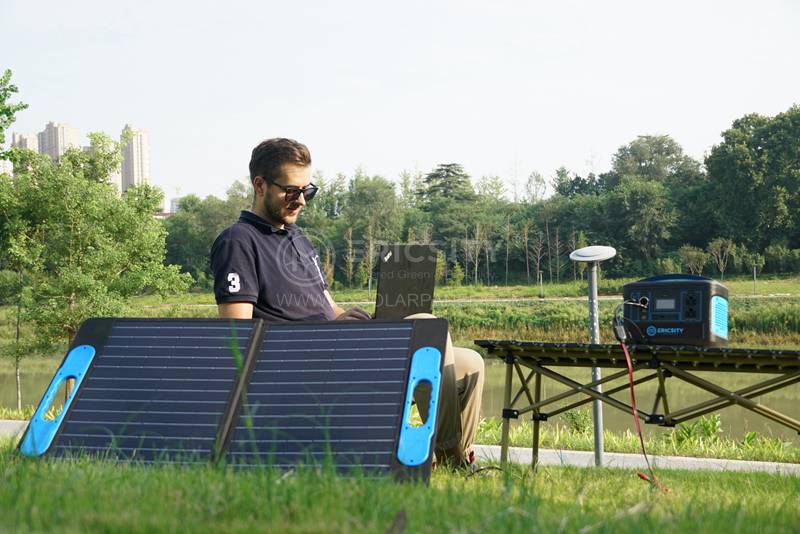
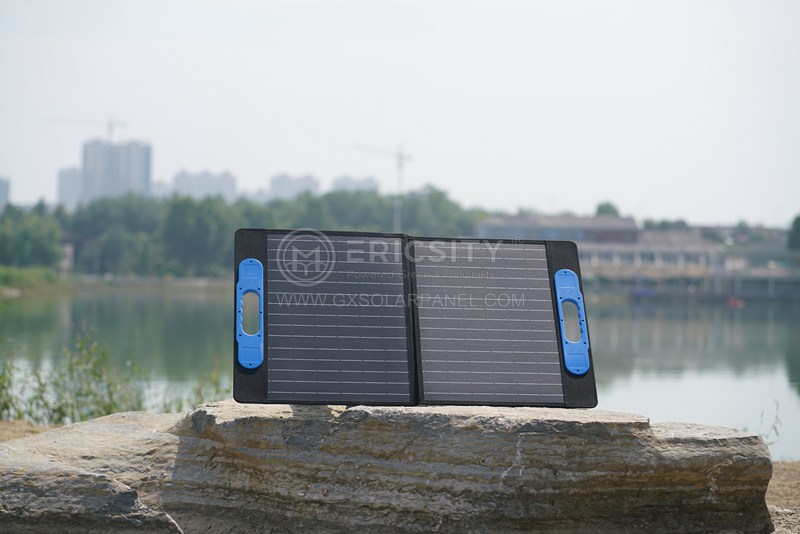
Flexible solar panels offer several advantages over traditional rigid panels. Their thin and lightweight design allows for greater flexibility in installation, enabling them to fit on curved surfaces or irregularly shaped areas. Moreover, their portability makes them an excellent choice for various applications, including on boats, RVs, and other recreational vehicles. With their increased efficiency and durability, flexible solar panels are becoming increasingly popular in the solar power market.
Key Components Required for Installation
Before diving into the installation process, it is important to understand the main components needed. For installing 150W flexible solar panels, you will need:
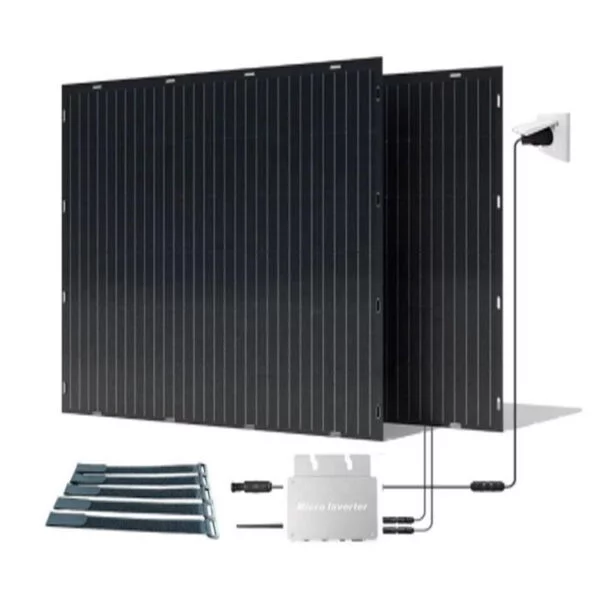
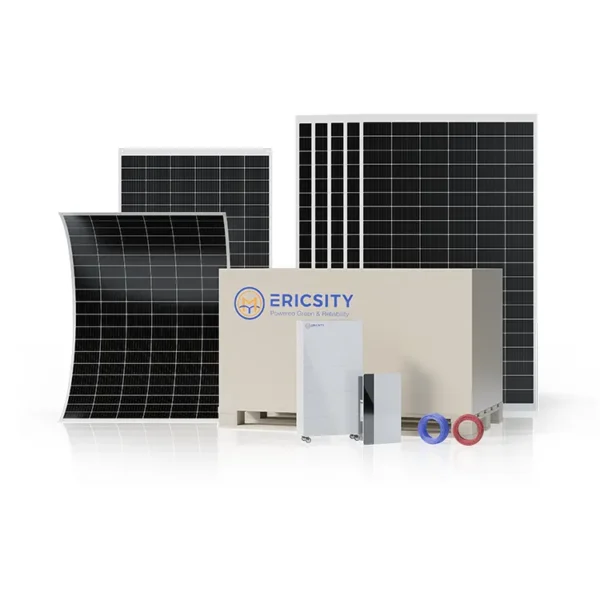
1. Flexible Solar Panels: Ensure that the panels have a power output of 150W and are specifically designed to be flexible. These panels typically come with adhesive backing or mounting holes for easy installation.
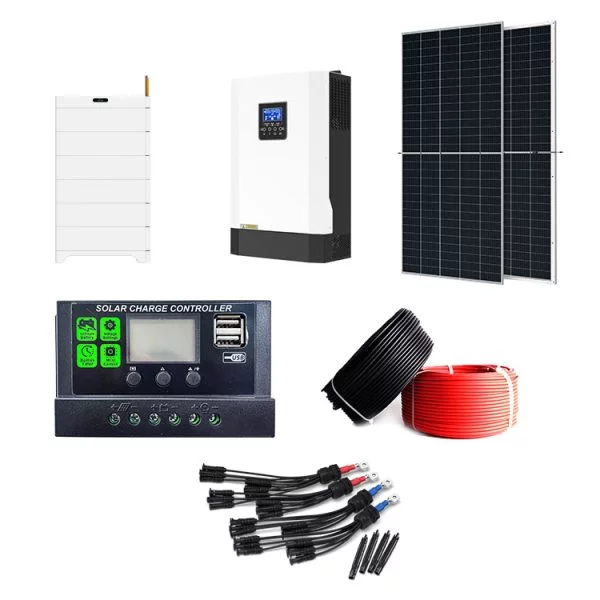
2. Solar Charge Controller: This device regulates the flow of electricity from the solar panels to the battery. It prevents overcharging and ensures the battery receives an optimal charge.
3. Battery: The energy generated by the solar panels is stored in a battery for later use. Choose a suitable deep-cycle battery based on your energy requirements.
4. Inverter (Optional): If you wish to convert the stored DC (direct current) energy into AC (alternating current), an inverter will be necessary. This allows you to power AC appliances directly.
Installation Steps
1. Determine Suitable Placement: Find a location for your flexible solar panels that receives maximum sunlight exposure throughout the day. Ensure that there are no shading obstructions, such as trees or buildings, which could reduce efficiency.
2. Secure the Panels: Most flexible solar panels come with adhesive backing or mounting holes. Clean the surface and apply the adhesive side firmly onto the desired location. Alternatively, use mounting holes to attach the panels using screws or adhesive tape.
3. Connect the Solar Panels: Connect the positive (+) and negative (-) terminals of the solar panels to the corresponding terminals on the solar charge controller. Follow the manufacturer’s instructions for proper wiring.
4. Connect the Charge Controller: Connect the positive (+) and negative (-) terminals of the charge controller to the corresponding terminals on the battery to allow the flow of electricity from the panels to the battery. Again, ensure correct wiring as per the manufacturer’s instructions.
5. Install an Inverter (If Needed): If you require AC power, connect the inverter to the battery. The DC energy stored will be converted to AC, allowing you to power AC appliances.
Conclusion
By following these simplified installation steps for 150W flexible solar panels, you can tap into the potential of solar energy and enjoy reduced energy costs while minimizing your carbon footprint. With their lightweight design and adaptability, flexible solar panels provide an excellent solution for various applications. Make a positive impact on the environment and embrace the benefits of solar power today!