
HOT PRODUCT
Product Details
Source:
Date:
05-30 2025
Solar On The Road: A Step-by-step Guide To Installing Flexible Panels On Your Rv
**Title: Solar On The Road: A Step-by-step Guide To Installing Flexible Panels On Your RV**
**Introduction**
With advancements in solar technology, it has become easier than ever to harness the power of the sun on your RV adventures. Installing flexible solar panels on your RV can provide a sustainable source of energy while reducing your carbon footprint. In this guide, we will walk you through the step-by-step process of installing flexible solar panels on your RV, empowering you to go green on the road.
**Step 1: Assess Your Power Needs**
Before you begin the installation process, it’s crucial to determine how much power you require during your RV trips. Consider the electrical appliances and devices you plan to use and estimate their total energy consumption. This assessment will help you decide the number and size of the flexible solar panels you need.
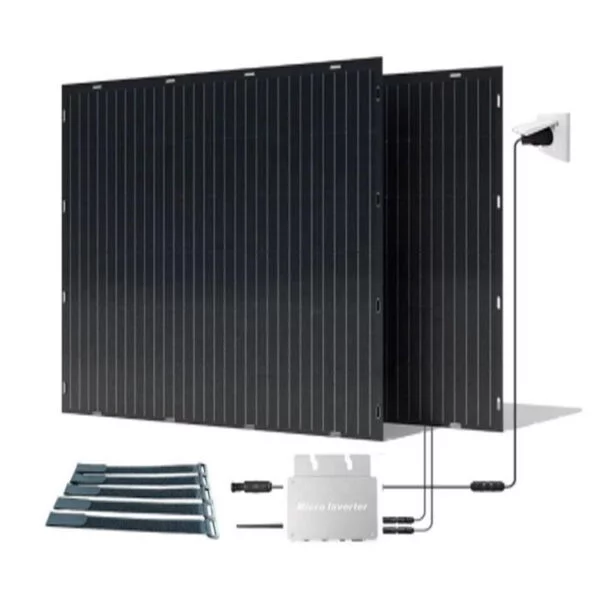
**Step 2: Choose the Right Flexible Solar Panels**

Selecting the appropriate flexible solar panels for your RV is essential. Factors to consider include power output, dimensions, weight, and durability. Opt for panels designed specifically for RVs, providing portable and lightweight alternatives to traditional rigid solar panels.
**Step 3: Determine Panel Placement**
Identify the best locations on your RV to install the flexible solar panels. Ensure that these areas receive maximum sunlight exposure throughout the day. Common mounting options include the roof, awnings, or even window covers. Take care to position the panels away from shadows to maximize their efficiency.
**Step 4: Secure the Mounting Hardware**
To install the mounting hardware, use tools and materials suitable for your RV’s specific structure. Depending on your chosen mounting location, you may need self-tapping screws, brackets, adhesive pads, or bungee cords. Follow the manufacturer’s instructions carefully to securely fasten the panels to your RV.
**Step 5: Connect the Wiring**
Connect the flexible solar panels to your RV’s electrical system. Begin by routing the wiring from the panels to the charge controller, which regulates the energy flow and prevents overcharging. Utilize appropriate wire connectors and ensure proper insulation to prevent any electrical mishaps. It’s advisable to seek professional help if you’re uncertain about electrical connections.
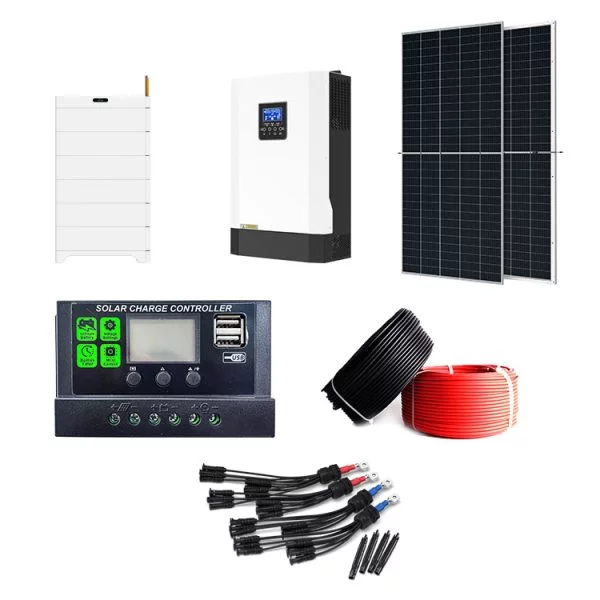
**Step 6: Install a Charge Controller**
Integrate a charge controller into your RV’s electrical system to safeguard your batteries against overcharging and optimize power output. Many flexible solar panel kits come with a charge controller, simplifying the installation process. Read the manufacturer’s instructions carefully to connect the controller correctly.
**Step 7: Connect to Your RV Batteries**
To store the energy generated by your flexible solar panels, connect them to your RV’s battery bank. Ensure you use the correct gauge of wire, appropriate connectors, and fuses for safety. Properly grounding the system is crucial to avoid electrical hazards.
**Step 8: Test and Monitor**
After completing the installation, test your system to verify its functionality. Monitor power output and battery levels regularly using a compatible monitoring system. This will help you keep track of your energy consumption and optimize the use of your solar power.
**Conclusion**
By following this step-by-step guide, you can successfully install flexible solar panels on your RV, allowing you to tap into the abundant power of the sun while traveling. Not only will this decision help reduce your carbon footprint, but it will also provide you with a sustainable and reliable source of energy on the road. Embrace the power of solar, and let your RV adventures become greener than ever before!