HOT PRODUCT
Product Details
Solar Power Simplified: Installing 240w Flexible Solar Panels
Solar Power Simplified: Installing 240w Flexible Solar Panels
Solar power is becoming an increasingly popular and viable option for generating clean and sustainable energy. Many homeowners are opting to install solar panels on their homes to reduce their reliance on fossil fuels and lower their carbon footprint. In this article, we will explore the benefits and installation process of 240w flexible solar panels, providing a simple guide to harnessing the power of the sun.
Why choose 240w flexible solar panels?
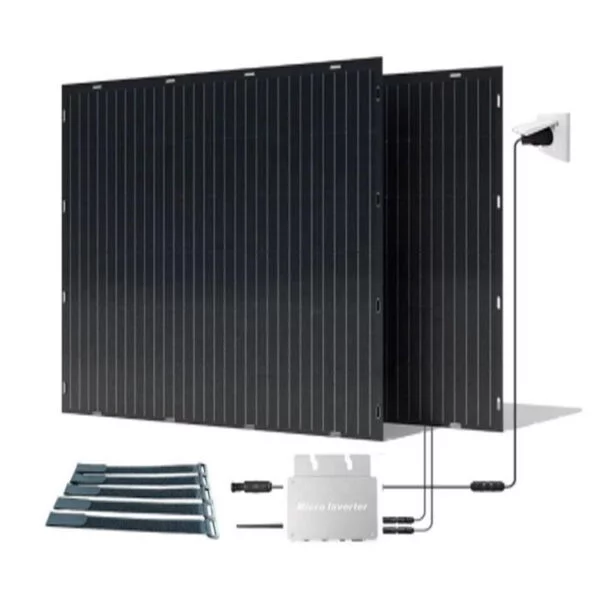
One of the key advantages of flexible solar panels is their versatility and ease of installation. Unlike traditional rigid solar panels, the flexible variants are thin, lightweight, and can be installed on curved surfaces. This makes them ideal for a variety of applications such as RVs, boats, and irregularly shaped roofs.


The 240w flexible solar panels offer a good balance between size and power output. With an average size of around 59 inches by 26 inches, they can fit on most roofs without occupying excessive space. Additionally, their wattage of 240w ensures a sufficient amount of energy generation for typical household needs.

Installation process of 240w flexible solar panels:
1. Assess the solar potential: Before installation, it’s important to evaluate the solar potential of your location. Ensure that the area where you plan to install the panels receives ample sunlight throughout the day.
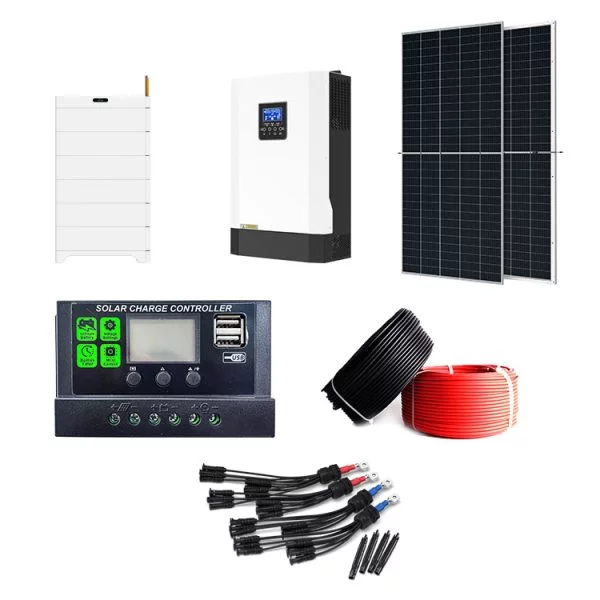
2. Gather the necessary tools and materials: To install the 240w flexible solar panels, you will need tools such as a drill, screwdriver, and a multi-meter, as well as mounting brackets, cables, and a charge controller.
3. Prepare the mounting surface: Clean the surface where the panels will be mounted thoroughly, removing any dirt, debris, or obstructions. Ensure the surface is smooth and free from any sharp edges that could potentially damage the panels.
4. Mounting the panels: Use the appropriate mounting brackets to secure the panels to the surface. Be sure to follow the manufacturer’s instructions carefully, as the process may vary depending on the type of surface and panel design. It’s recommended to consult a professional installer if you are unsure about the mounting process.
5. Connect the panels: Once the panels are securely mounted, connect them in series or parallel, depending on your desired set-up. Use the provided cables and connectors to establish the electrical connections between the panels.

6. Install the charge controller: A charge controller is essential to regulate the charging process and prevent overcharging of the batteries. Connect the charge controller to the panels and the battery bank according to the manufacturer’s instructions.
7. Test and monitor: After the installation is complete, check the connections and test the system to ensure proper functionality. Monitor the performance of the panels regularly to optimize their efficiency and troubleshoot any potential issues.
Conclusion:
Installing 240w flexible solar panels is an excellent choice for those seeking to harness solar power in a simplified and cost-effective manner. Their flexibility, lightweight design, and decent power output make them suitable for various applications. By following the installation process outlined above, you can embark on your journey towards a greener and more sustainable energy future. Embrace solar power and contribute to the transition to renewable energy sources for a brighter tomorrow.


