HOT PRODUCT
Product Details
the Diy Guide To Installing Amorphous Flexible Solar Panels
Title: The DIY Guide to Installing Amorphous Flexible Solar Panels
Introduction:
Harnessing solar power has become increasingly popular due to its renewable nature and cost-efficiency. Amorphous flexible solar panels, in particular, provide a unique advantage by being lightweight and easily adaptable to various surfaces. This DIY guide aims to walk you through the installation process, ensuring a successful and rewarding experience. Let’s get started!
1. Planning the Installation:
Before beginning the installation, it is crucial to assess your space and determine the best location for the panels. Consider factors such as the sun’s path, shading, and structural integrity of the mounting surface. Additionally, decide on the number of panels required to meet your energy needs.

2. Gathering Materials and Tools:

To complete the installation, you will need the following materials and tools:
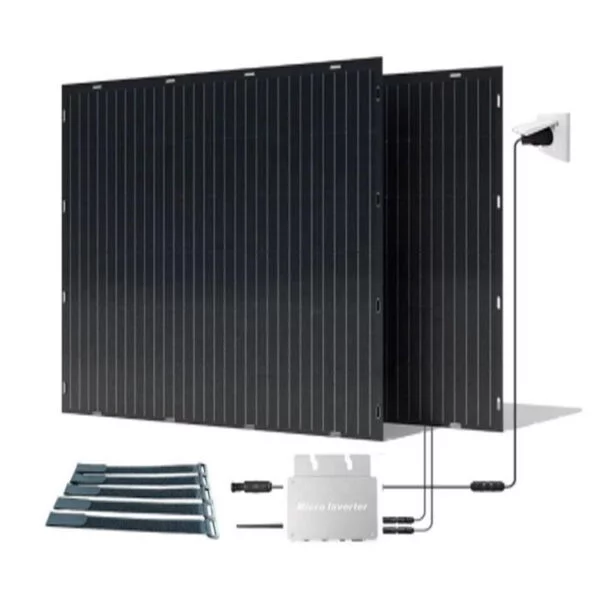
– Amorphous flexible solar panels
– Mounting brackets or adhesive
– Wiring and connectors
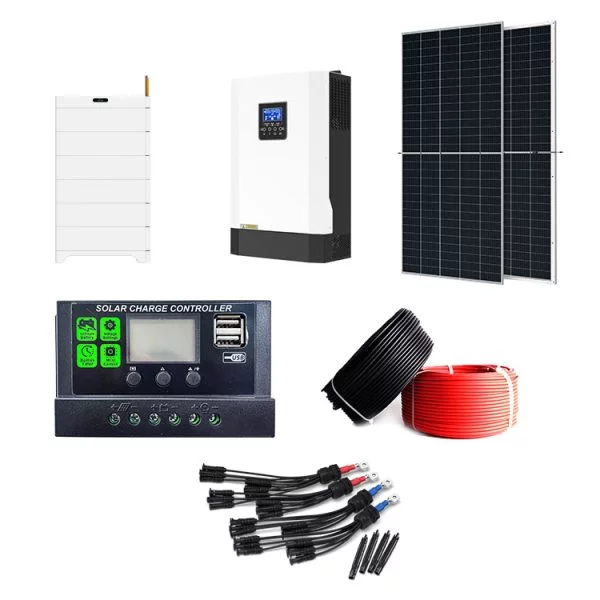
– A charge controller
– Batteries (optional, for storing excess energy)
– Screwdriver, power drill, and relevant drill bits
– Wire cutters/strippers
– Measuring tape
Ensure that the materials and tools are compatible with the specific type of solar panel system you are using.
3. Mounting the Solar Panels:
There are two main options for mounting amorphous flexible solar panels:
– Adhesive Method: Clean the mounting surface thoroughly, removing any dirt or debris. Measure and mark the placement of the panels, ensuring an evenly spaced layout. Apply an appropriate adhesive to the back of the panel and firmly press it onto the surface. Allow sufficient curing time as recommended by the adhesive manufacturer.
– Bracket Method: Install mounting brackets on the designated surface at the marked points. Secure them tightly using screws, ensuring stability. Attach the flexible solar panels onto the brackets by sliding them into place and securing with screws or clips.
4. Wiring and Connections:
To connect the solar panels, follow these steps:
– Use wire cutters to strip the insulation from the ends of the solar panel cables.
– Connect the positive (+) and negative (-) terminals of each panel to each other, ensuring the proper polarity.
– Connect the panels to the charge controller using appropriate wires and connectors, following the manufacturer’s instructions.
– Connect the charge controller to the battery bank (if applicable) using the recommended wiring method.

5. Finishing Touches:
Once the wiring is complete, double-check all connections for accuracy and security. Tidy up any loose wires and ensure they are protected from the elements. Test the system’s functionality by exposing the panels to direct sunlight and monitoring the charge controller’s readings.
6. Maintenance and Safety:
To ensure optimal performance, periodically check the solar panels for dirt or debris and clean them using a soft cloth and soapy water. Avoid using harsh chemicals or abrasive materials to prevent damage. Regularly inspect the wiring connections and mounting hardware to detect any loose or damaged parts, promptly replacing or repairing as needed.
Conclusion:
Installing amorphous flexible solar panels can be an exciting and rewarding project for DIY enthusiasts. By carefully planning, gathering the necessary materials, and following the steps outlined in this guide, you can confidently contribute to a sustainable energy future. Remember to prioritize safety and maintenance, allowing your solar panel system to generate clean and renewable energy for years to come.


