HOT PRODUCT
Product Details
the Diy Guide To Installing Amorphous Flexible Solar Panels
Title: The DIY Guide to Installing Amorphous Flexible Solar Panels
Introduction:
With the increasing popularity of renewable energy sources, more homeowners are turning to solar power as an alternative to traditional electricity. Solar panels offer an efficient and eco-friendly means of generating electricity, and the advent of amorphous flexible solar panels has made installation easier and more versatile than ever before. In this DIY guide, we will walk you through the step-by-step process of installing amorphous flexible solar panels, enabling you to harness the power of the sun and reduce your carbon footprint.
1. Determining your energy needs:
Before starting the installation process, it is essential to evaluate your energy requirements. Calculate your average energy consumption to determine the number and size of solar panels you will need. This step ensures that the system you install is capable of meeting your electricity demands.
2. Assessing available space:
Identify the ideal location for your amorphous flexible solar panels. They can be installed on various surfaces such as roofs, balconies, or walls, and it is important to consider factors such as available space, shading, and orientation to maximize energy generation. Ideally, the panels should be installed in a spot that receives direct sunlight for the majority of the day.
3. Gathering the necessary tools and equipment:
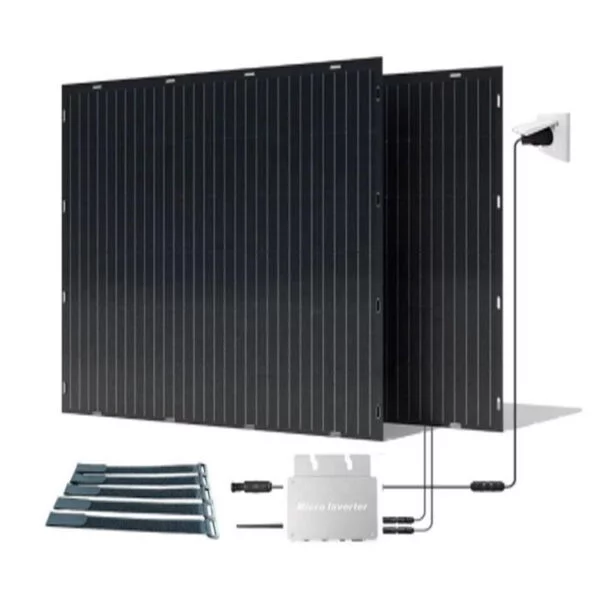
To facilitate the installation process, equip yourself with the following tools and materials: amorphous flexible solar panels, mounting hardware (clips or adhesive), a drill with appropriate bits, measuring tape, screws, a junction box, cables, and connectors. It is crucial to choose high-quality materials that are compatible with the type of solar panels you are using.

4. Mounting the solar panels:
Next, mount the amorphous flexible solar panels securely onto the chosen surface. If using adhesive, ensure the surface is clean, dry, and free from dust or debris. Use clips or adhesive to fasten the panels, taking care to follow the manufacturer’s instructions. Alternatively, if mounting on a roof, anchor the panels using screws and secure them directly onto the surface or onto a mounting rack.
5. Wiring and connections:
After mounting the panels, focus on the electrical wiring and connections. Install a junction box near the panels to protect the electrical connections from weather elements. Ensure that the cables are properly connected using connectors compatible with your panels. Remember to adhere to the electrical code and guidelines while working with the wiring to ensure safety.
6. Connection to the energy system:
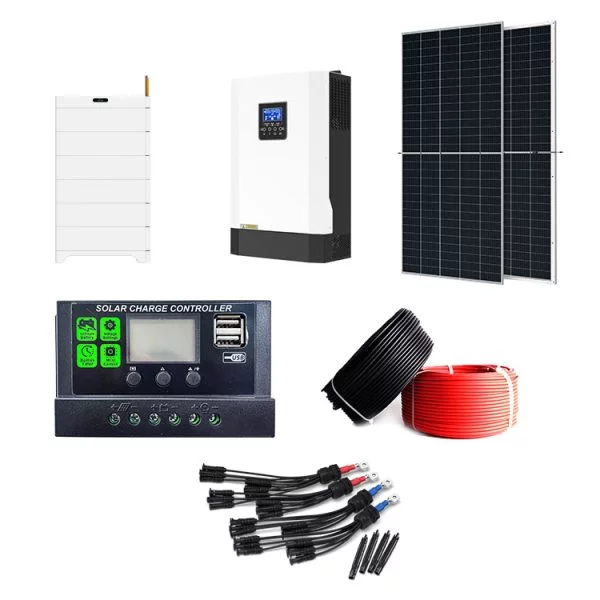
Once the panels are securely mounted and the wiring is complete, connect your solar system to the energy grid or your off-grid storage system. If connecting to the grid, consult with your local energy provider or hire a professional electrician to ensure compliance with regulations and proper grid-tie installation. If setting up an independent system, connect your panels to a charge controller and battery bank.

7. Maintenance and monitoring:
Regularly inspect and clean your solar panels to ensure optimal energy output. Clear away any debris or dirt that might accumulate on the surface, as this can reduce their efficiency. Additionally, monitor the performance of your system periodically to identify any issues that might arise and address them promptly.
Conclusion:

Installing amorphous flexible solar panels can be a rewarding DIY project that allows you to generate sustainable energy and reduce your dependence on traditional electricity sources. By following these steps, you can harness the power of the sun and contribute to a greener, more sustainable future. Make sure to consult professional advice whenever necessary and adhere to safety guidelines to ensure a successful installation process.


