
HOT PRODUCT
Product Details
Source:
Date:
06-21 2025
the Diy Guide To Installing Black Flexible Solar Panels
Title: The DIY Guide to Installing Black Flexible Solar Panels
Introduction:
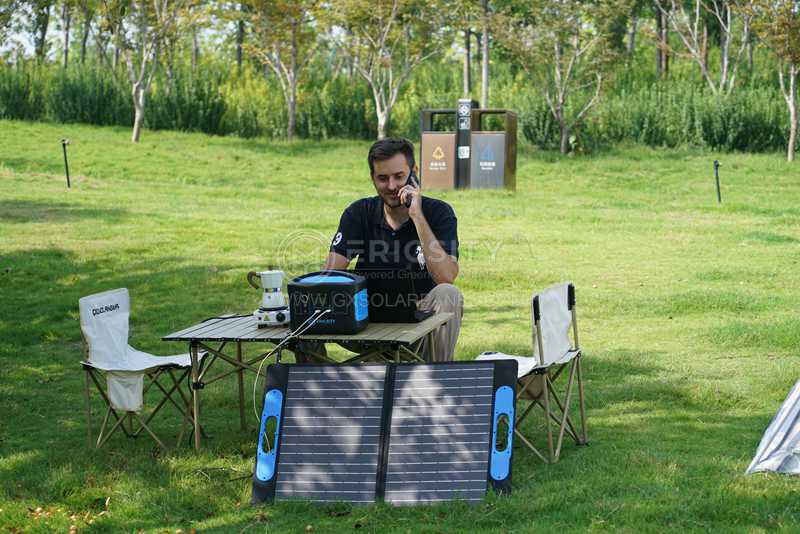
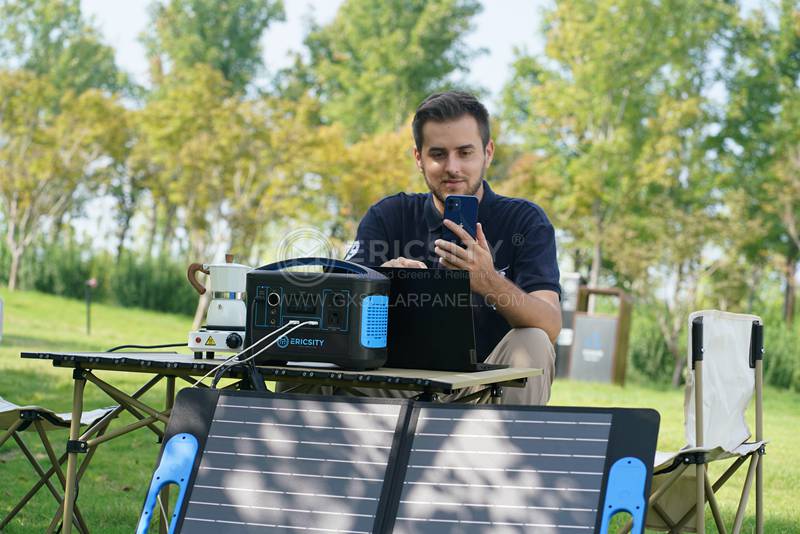
With the increasing popularity of renewable energy, more and more homeowners are turning to solar power as a cost-effective and sustainable solution. If you’re considering installing solar panels, one modern and versatile option to explore is black flexible solar panels. These panels offer numerous advantages, including their lightweight, aesthetically pleasing design, and ability to be installed on various surfaces. This DIY guide aims to provide you with step-by-step instructions for the installation of black flexible solar panels on your property.
Step 1: Assess Your Energy Needs
Before diving into the installation process, it’s important to assess your energy needs. Determine the amount of electricity your household requires and evaluate the available space for solar panel placement. Also, consider the orientation and inclination of your roof or any other location you plan to install the panels, as these factors greatly influence their efficiency.
Step 2: Select the Right Solar Panel System
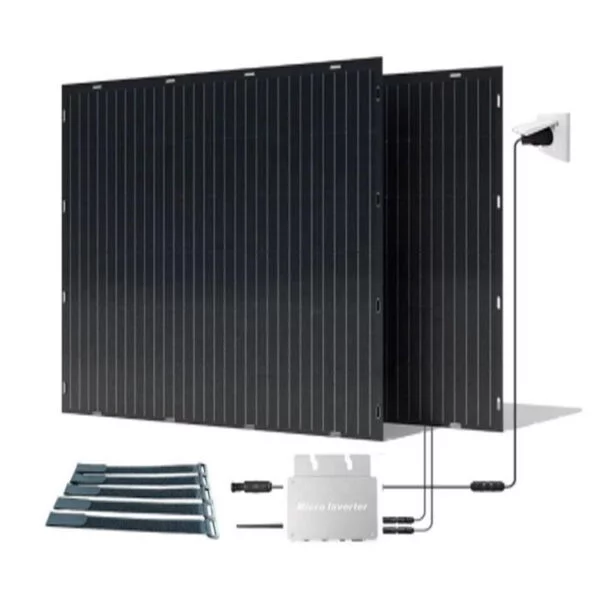
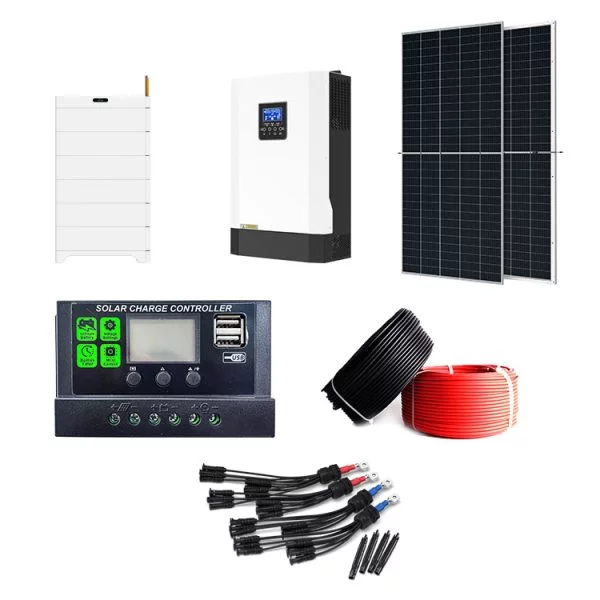
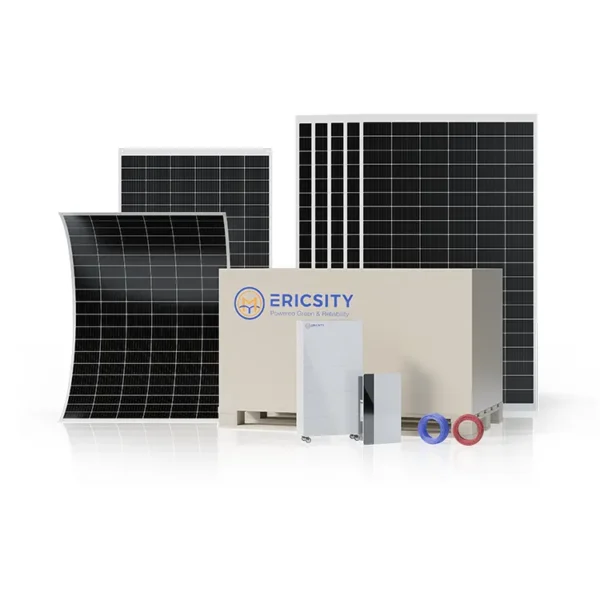
Research and choose a suitable black flexible solar panel system that aligns with your energy requirements and budget. Ensure that the system you select comes with all the necessary components, such as the solar panels, wiring, connectors, and an inverter to convert the solar energy into usable electricity.
Step 3: Gather the Required Tools and Materials
To successfully install black flexible solar panels, gather the necessary tools and materials, including a ladder, measuring tape, mounting brackets, sealant, screws, a screwdriver or drill, and appropriate safety equipment like gloves and goggles.
Step 4: Prepare the Mounting Surface
Clean the surface where you plan to install the solar panels thoroughly. Remove any dirt, debris, or loose materials that might hinder the adhesion of the panels. Consider using a suitable cleaning agent and a soft brush to ensure optimal surface preparation.
Step 5: Install the Mounting Brackets
Using the measurements obtained during the planning phase, mark the mounting positions on the surface. Secure the mounting brackets onto the surface using the provided screws and a drill or screwdriver. Ensure the brackets are level and properly aligned to support the panels securely.
Step 6: Connect the Wiring
Carefully connect the wiring from the solar panels to the inverter following the manufacturer’s instructions. Ensure all connections are secure and insulated properly. An electrician’s guidance might be necessary for this step if you are not familiar with electrical connections.
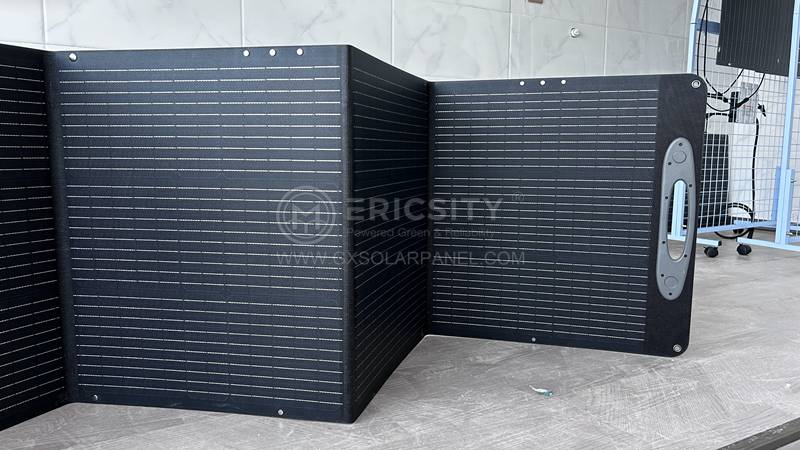
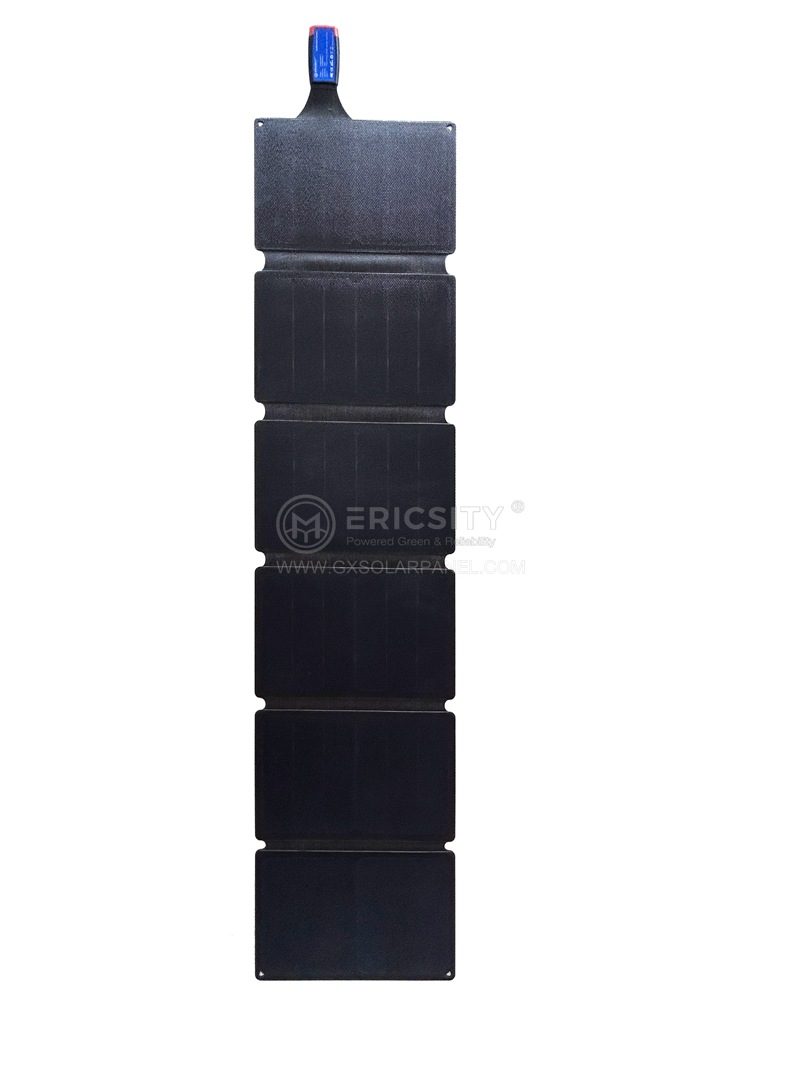
Step 7: Attach the Black Flexible Solar Panels
Peel off the protective backing from the solar panels and carefully position them onto the mounting brackets. Ensure each panel is firmly pressed onto the surface to provide a strong bond. Overlapping the panels slightly is beneficial to cover the surface adequately and optimize energy generation.
Step 8: Seal and Protect the Installation
After all the panels are in place, apply a suitable sealant around the edges of the panels to provide waterproofing and protect against potential damage caused by moisture. Allow the sealant to dry thoroughly before turning on the solar panel system.
Conclusion:
Installing black flexible solar panels can be a rewarding DIY project for homeowners looking to harness renewable energy. By following the steps outlined in this guide, you can confidently set up a sustainable energy source that not only reduces your carbon footprint but also saves you money on electricity bills. Remember, if you are not comfortable undertaking the installation process yourself, it is always advisable to consult with a professional to ensure a safe and efficient installation.