HOT PRODUCT
Product Details
the Diy Guide To Installing Campervan Flexible Solar Panels
Title: The DIY Guide to Installing Campervan Flexible Solar Panels
Introduction:
Campervans offer the convenience and freedom to travel anywhere while enjoying the comforts of home on the road. Installing flexible solar panels on your campervan is an excellent way to harness the power of the sun and ensure a continuous supply of electricity during your adventures. This DIY guide will provide you with step-by-step instructions on how to install flexible solar panels on your campervan, allowing you to embrace sustainable and off-grid living.
1. Assessing Your Power Needs:
Before diving into the installation process, it’s crucial to determine your power requirements. Evaluate your energy consumption by listing all the electrical appliances and devices you plan to use in your campervan. This analysis will help you determine the number and size of flexible solar panels needed to meet your energy needs adequately.
2. Choosing the Right Solar Panels:
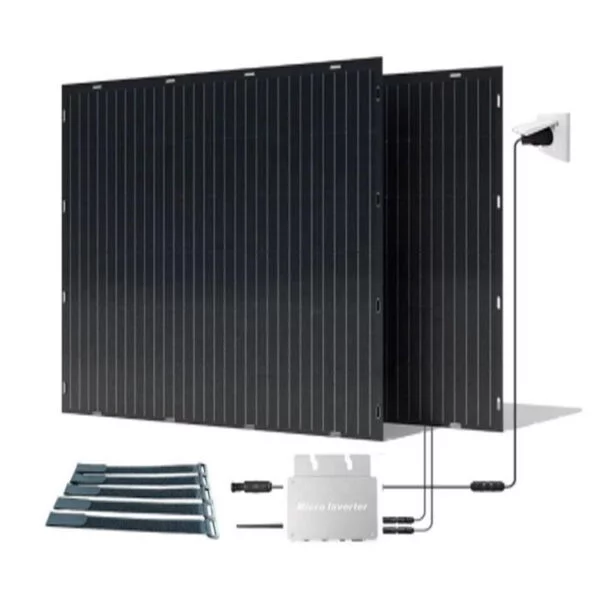
Flexible solar panels are lightweight, durable, and bendable, making them perfect for campervan installation. Look for high-quality panels that are specifically designed for mobile applications and provide sufficient wattage to fulfill your energy requirements. Research different brands and read customer reviews to ensure you select a reliable product.

3. Planning the Installation:
Careful planning is essential to ensure a successful installation. Start by determining the best location for mounting the solar panels on your campervan’s roof. Aim for an area that receives optimal sunlight throughout the day, free from any obstructions. Consider the layout and weight distribution of your campervan to ensure the panels are positioned correctly while maintaining stability.
4. Installing the Solar Charging Regulator:
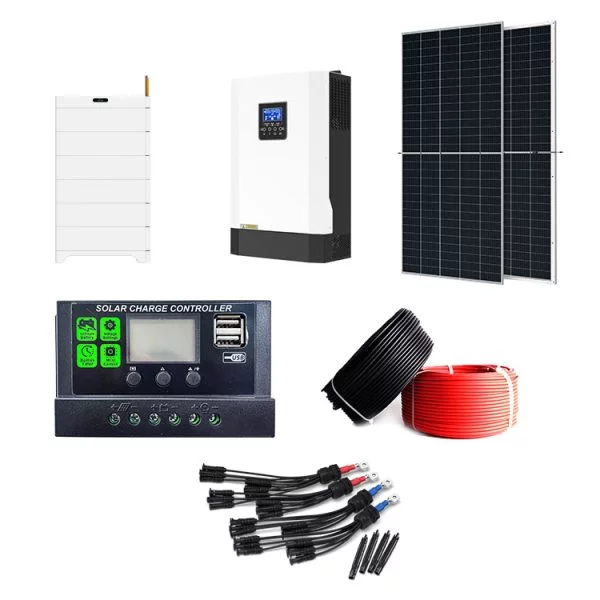
A solar charging regulator ensures that your campervan’s battery is charged safely and efficiently. Begin by identifying a suitable location inside your campervan to mount the regulator. Connect the regulator to the battery and the solar panels according to the manufacturer’s instructions. Use appropriate cables and connectors to ensure a secure and reliable connection.
5. Mounting the Solar Panels:
Clean the roof of your campervan thoroughly before mounting the solar panels to promote a strong bond. Apply an adhesive sealant to the underside of the panels, then carefully position and press them onto the roof. Ensure that the panels adhere firmly, and allow the sealant to cure as per the manufacturer’s instructions to create a watertight seal.


6. Wiring the Solar Panels:
Using the appropriate cables, connect the solar panels to the solar charging regulator. Run the cables securely along the roof and into your campervan through a dedicated cable entry point. Avoid pinching or damaging the cables during this process. Connect the cables to the regulator, ensuring correct polarity, and secure them using cable ties or adhesive clips.
7. Testing and Maintenance:
After completing the installation process, it’s essential to test the functionality of your solar panel system. Ensure that the solar panels are charging the battery correctly and that all connections are secure. Regularly check the panels for dirt or debris accumulation and clean them as required to maintain optimal performance.
Conclusion:
With this DIY guide, you can install flexible solar panels on your campervan and embrace the benefits of sustainable and off-grid living. Enjoy the freedom and convenience of having a continuous and eco-friendly power supply during your adventures. Remember to prioritize safety and refer to manufacturer instructions throughout the installation process. Happy solar camping!


