HOT PRODUCT
Product Details
the Diy Guide To Installing The Best Flexible Solar Panels For Campervans
Title: The DIY Guide to Installing the Best Flexible Solar Panels for Campervans
Introduction:

As more and more people embrace the freedom and simplicity of van life, there is a growing demand for off-grid power solutions like solar panels. Installing flexible solar panels on your campervan can provide a reliable and sustainable source of energy while on the road. This DIY guide will walk you through the process of selecting and installing the best flexible solar panels for your campervan.
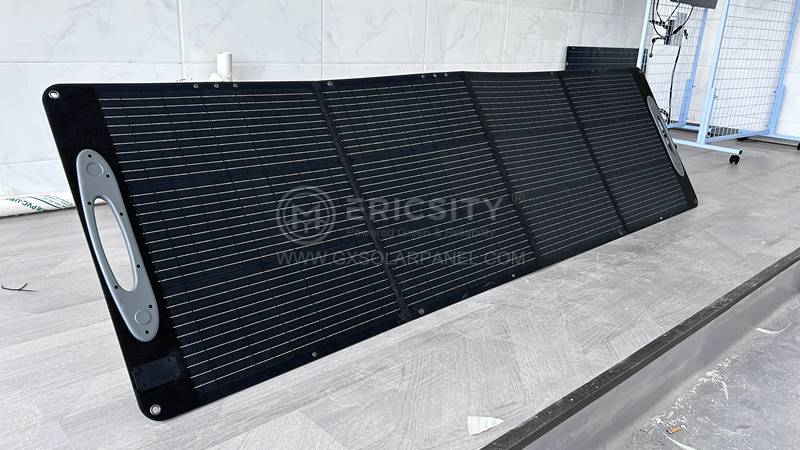
1. Understanding Flexible Solar Panels:
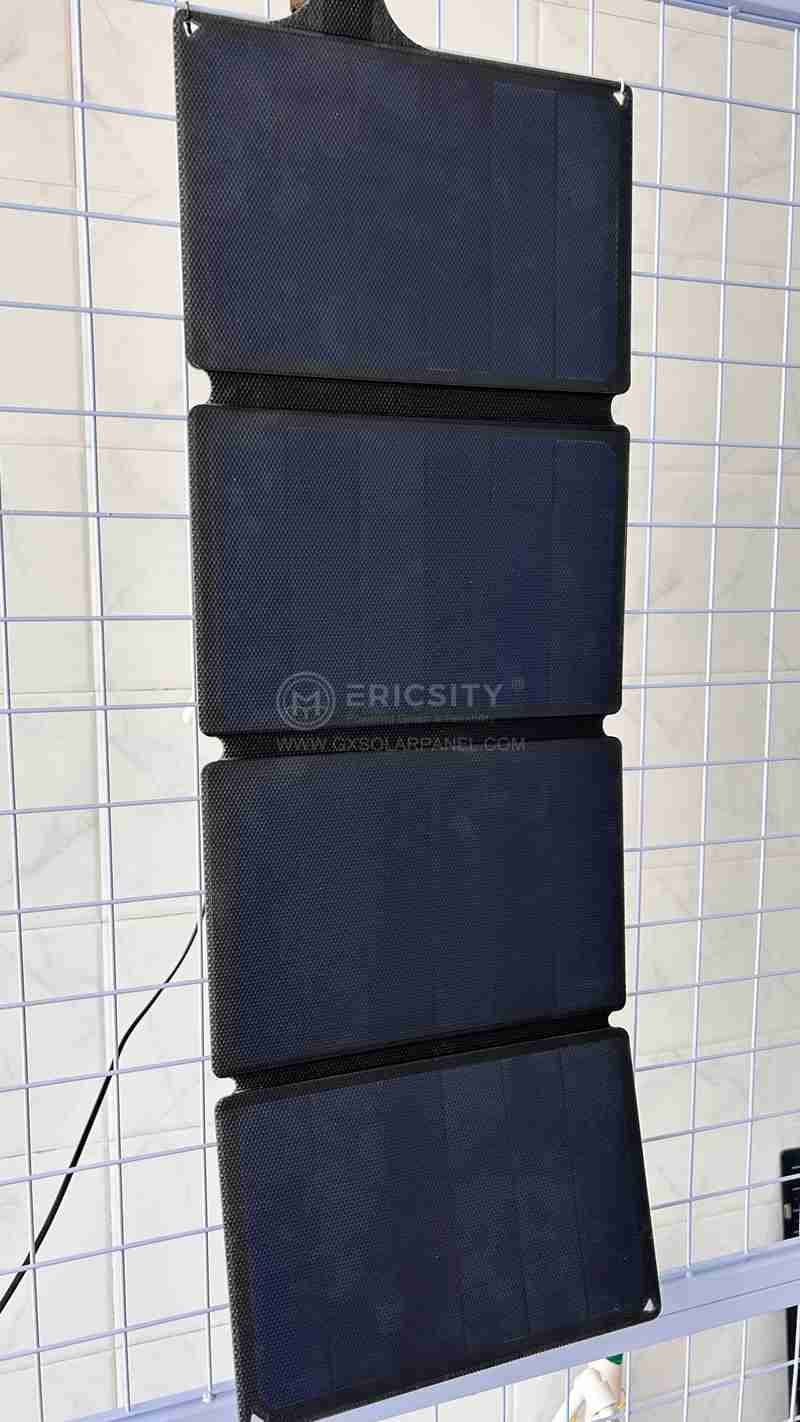
Flexible solar panels, also known as thin-film solar panels, are lightweight and versatile. Unlike traditional rigid panels, they are made of flexible materials, allowing them to be curved and attached to curved surfaces such as campervans. The flexibility and durability of these panels make them an ideal choice for campervan installations.
2. Determining Power Requirements:
Before diving into the panel selection, it is crucial to assess your power needs. Consider the appliances and electronics you plan to use in your campervan. Calculate their power consumption and estimate the average daily energy requirements. This will help you determine the size and number of flexible solar panels you need.

3. Selecting the Best Flexible Solar Panels:
When choosing flexible solar panels, consider factors such as efficiency, quality, and durability. Look for panels with a high power output and efficiency rating to ensure maximum energy conversion. Additionally, opt for panels that are lightweight, waterproof, and designed to withstand harsh weather conditions.
4. Installing the Solar Panels:
Before starting the installation process, gather all the necessary tools and materials, including solar panel mounts, adhesive, wiring, and a charge controller. Here are the steps to install flexible solar panels on your campervan:
a. Clean the surface: Ensure the area where you plan to install the panels is clean and free from dirt or debris. Use a mild detergent and water solution to thoroughly clean the surface.
b. Apply adhesive: Apply a suitable adhesive to the back of the solar panels, following the manufacturer’s instructions. Ensure complete coverage to prevent any water damage or air gaps.
c. Position the panels: Carefully position the panels on the roof of your campervan, ensuring they are aligned and properly curved to match the surface. Apply pressure to ensure a secure bond with the adhesive.
d. Install mounting brackets: Attach mounting brackets around the edges of the panels to provide additional support. Use screws or bolts to secure the brackets to the roof, following the manufacturer’s instructions.
e. Connect the wiring: Connect the positive and negative leads of each panel using suitable connectors. Run the wires through the roof and down to the charge controller inside the campervan. Ensure proper insulation and protection to prevent any damage caused by environmental factors.
f. Install the charge controller: Mount the charge controller in a convenient and easily accessible location inside the campervan. Connect the solar panel wiring to the charge controller according to the provided instructions.
Conclusion:
Installing flexible solar panels on your campervan can be a rewarding and efficient way to harness renewable energy. With this DIY guide, you now have a step-by-step process for selecting and installing the best flexible solar panels. Remember to prioritize efficiency, quality, and durability when choosing your panels, and ensure a proper installation to maximize the benefits of solar power in your off-grid adventures. Enjoy the freedom of the open road, powered by the sun!


