
HOT PRODUCT
Product Details
Source:
Date:
01-22 2025
The Science Behind Rv Solar Panels: How To Safely Mount Flexible Panels
The Science Behind RV Solar Panels: How to Safely Mount Flexible Panels
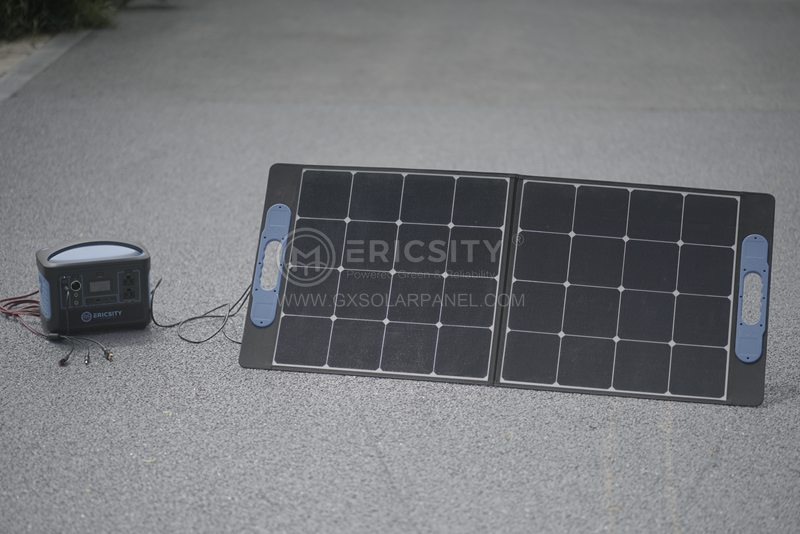
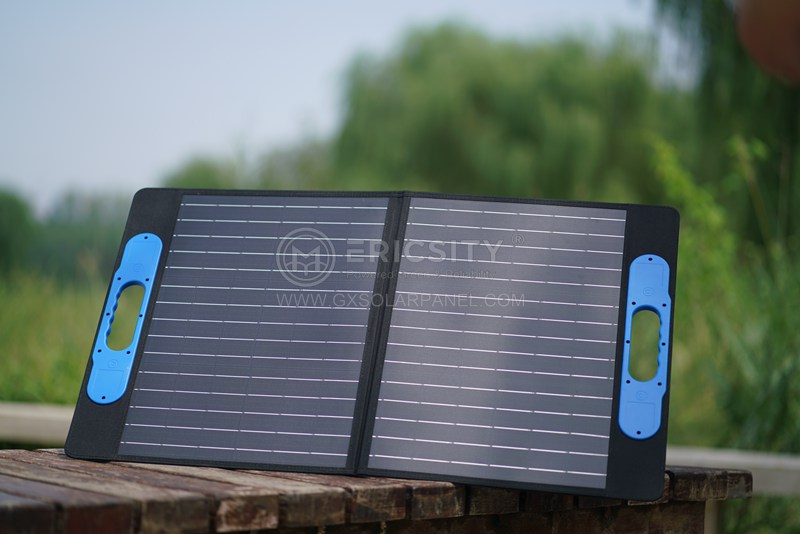
With the rise of eco-friendly and cost-effective alternatives, many RV enthusiasts are turning to solar power as a sustainable way to generate electricity for their vehicles. RV solar panels provide the perfect solution, allowing you to harness the power of the sun no matter where your travels take you. In this article, we will delve into the science behind RV solar panels and explore the safe and efficient methods of mounting flexible panels.
RV solar panels work by converting sunlight into electricity through the photovoltaic effect. The panels are made up of multiple solar cells, typically composed of silicon, which absorb photons from the sunlight and release electrons. These free electrons flow through the panel’s circuit, creating a direct current (DC) electrical output. To convert this DC power into the alternating current (AC) power needed to run appliances in your RV, an inverter is used.
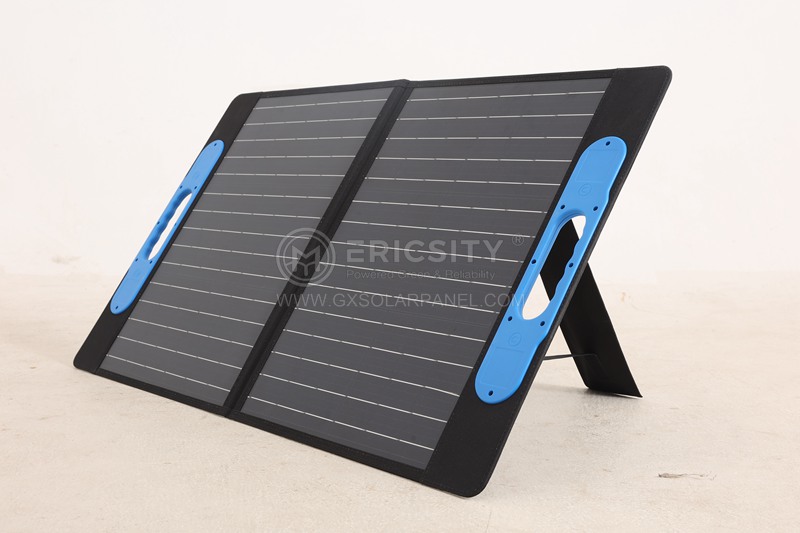
When it comes to mounting solar panels on your RV, there are a few crucial factors to consider, especially if you are working with flexible panels. Here are some key guidelines to ensure the safe and efficient installation of flexible solar panels:
1. Determine the ideal mounting location: Before installation, carefully select the ideal location on your RV for the solar panels. This area should receive ample sunlight throughout the day, free from shading. Typically, the roof is the best spot for solar panel placement.
2. Prepare the mounting surface: Ensure the surface where the panels will be mounted is clean, dry, and free from any debris or substances that could hinder adhesion. A thorough cleaning with a mild detergent and water should be sufficient.
3. Select a reliable adhesive: Flexible solar panels are typically attached using a high-quality adhesive specifically designed for outdoor applications. Make sure the adhesive is compatible with the roof material of your RV and has a strong bonding capacity.
4. Apply the adhesive: Follow the manufacturer’s instructions to apply the adhesive evenly on both the back of the solar panel and the mounting surface. Take care to avoid air bubbles or uneven distribution, as these may affect the overall performance.
5. Secure the panels: Once the adhesive is applied, carefully position the solar panels on the mounting surface. Apply gentle pressure to ensure proper adhesion. You may also consider using additional mechanical fasteners, such as screws or brackets, for added security.
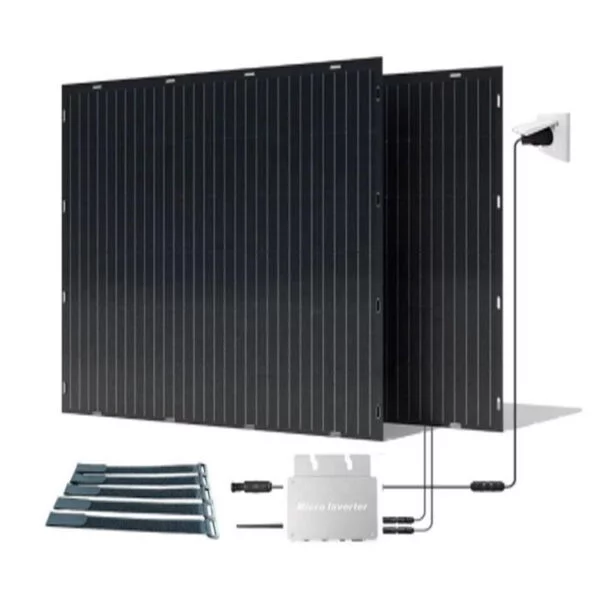
6. Connect the wiring: After mounting the solar panels, connect the wiring to the charge controller, which regulates the power flowing from the panels to the battery bank. Use appropriate connectors and follow electrical safety guidelines to prevent any accidents or damage.
7. Regular maintenance: Keep your solar panels clean and free from any dirt or debris that could partially block sunlight. Inspect the mounting area periodically to ensure the panels are secure and reapply adhesive if necessary.
By following these steps, you can safely and effectively mount flexible solar panels on your RV, allowing you to harness the power of the sun and enjoy the benefits of off-grid and sustainable energy while traveling. As always, it is recommended to consult with professionals or experienced RV enthusiasts for specific installation advice related to your vehicle and solar panel type. Happy and eco-friendly travels!